



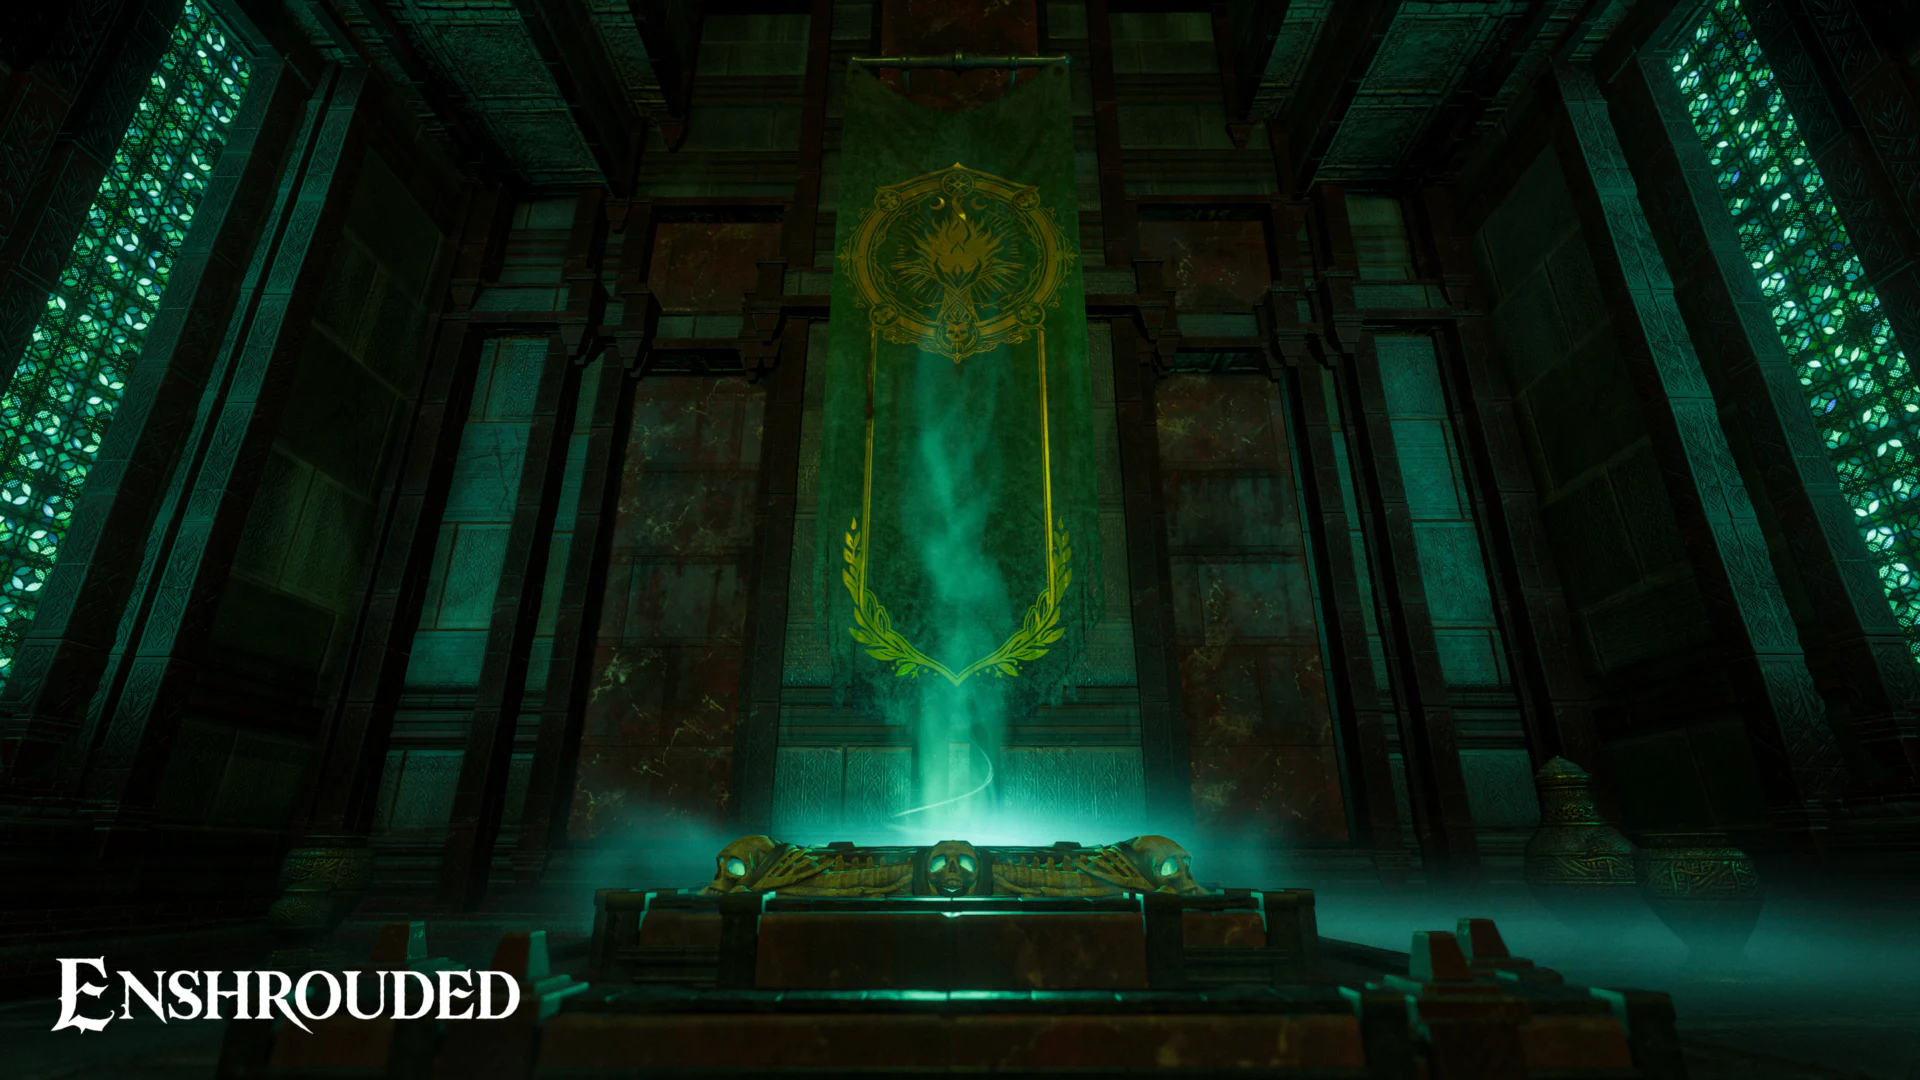


The Veilwater Basin Hollow Halls block your progress with flooded rooms, connected switches, and a dangerous final boss. This guide explains how to open the dungeon, solve its water puzzles in the correct order, and make sure the completion objective registers.
Complete Route Through the Hollow Halls
- Complete the Albaneve Summits Hollow Halls first and collect an Icy Giant Bone.
- Craft the Veilwater Basin Bone Key and use it to open the marked entrance.
- Activate the first water control.
- In the second flooded area, clear the underwater obstruction with the Mining Sieve and reach the elevated second control.
- Cross the submerged passages with the Underwater Grappling Hook.
- Hit the ranged switch above the water channel, activate both floor switches, and ride the laser elevator upward.
- Defeat the Hollow Wispwyvern, then continue through the final passage into the reward room.
This route applies to Enshrouded 1.0 on PC and PS5. For a broader look at the full release, see our Enshrouded 1.0 changelog overview.
Craft the Bone Key and Find the Entrance
You must rescue the Collector, Alden Crowley, and give him a sheltered place in your base. If you have not recruited him yet, our overview explains how to rescue all five survivors. Once Alden is settled, accept his Veilwater Basin Hollow Halls quest.
The Veilwater Basin Bone Key requires 25 Ectoplasm Gems, one Icy Giant Bone, and one Gold Bar. The Icy Giant Bone comes from the Albaneve Summits Hollow Halls, so you must visit that dungeon first. Craft the key through Alden and keep it in your inventory throughout the run.
Track the quest to place an unambiguous marker on the entrance. The sealed door lies about 1,450 meters east of the Veilwater Basin Ancient Spire, or roughly 280 meters southwest of the Cyclops Cave Passage. Use the Bone Key on the door to enter.
Bring the Right Equipment for the Flooded Rooms
- Underwater Grappling Hook: Equip it in your Grappling Hook slot. The standard Grappling Hook does not work with submerged anchors.
- Mining Sieve: This Blacksmith-crafted tool clears an obstruction in the second flooded area.
- Ranged weapon or long-range spell: You will need one to hit a switch above the water channel.
- Diving equipment and healing supplies: These make the long swims and the fights between them more manageable.
The Carpenter can craft the Underwater Grappling Hook. You can also find a fixed one at the Hermit Camp in Veilwater Basin. The quest recommends Level 32, while the interior is listed as a Level 39 area, so prepare for enemies above the quest recommendation.
Swimming stamina and oxygen are separate limits. Extra stamina helps you move through the water, but it does not extend your air supply. If diving gear replaces armor with important combat bonuses, switch back to your regular equipment when you reach a dry fighting area.
Solve the First and Second Water Mechanisms
After the first enemy chambers, the route descends into a flooded section. Activate the accessible control there before searching the deeper passages. It lowers the water and makes the next doorway or lower route usable.
A submerged obstruction blocks part of the mechanism in the larger second water room. Dive down and remove it with the Mining Sieve. The water level or accessible route should change afterward.
If the connected barriers now display “1/2,” the game has registered the first of two mechanisms. Do not keep working on the same obstruction. Swim into the adjoining room with the aquatic enemies, look above the waterline for an exit onto the elevated dry side, and activate the second control there. The connected doors open after that control registers.
Cross the Diving Passages and Green Sludge Safely
Swim close to the glowing underwater anchors and use the equipped Underwater Grappling Hook to reach the raised ledges. If no interaction prompt appears at close range, check your Grappling Hook slot first. With the standard hook equipped, a solo character can become stranded beneath the next dry platform.
Use every opening to the surface as an air stop. If your oxygen runs low, leave optional chests for later, surface, and restart the dive. One narrow underwater passage is easier to enter if you deliberately swim lower instead of pushing against the opening from directly beneath the surface.
In multiplayer, a properly equipped teammate may be able to operate a mechanism or temporarily share the required hook. If you are playing alone and entered without the Underwater Grappling Hook, returning with the correct tool is the dependable solution.
Green sludge in the later rooms drains stamina quickly. Stay on solid edges where possible, destroy nearby Hollow spawners first, and attack enemies standing in the sludge from range. This preserves enough stamina for jumps and dodge rolls.
Activate the Waterwheel, Floor Switches, and Laser Elevator
The trigger in the waterwheel room is not attached to the elevator. Look above the water channel for a switch, establish a clear line of sight, and hit it with a ranged weapon or a spell that can reach far enough. Water should begin flowing through the channel, the wheel should turn, and the elevator should become usable.
If the next door remains closed, do not keep shooting the water-channel switch. That door uses a separate mechanism: two floor switches positioned on opposite sides of the room. Activate both to open the route forward.
The following platform rises through laser barriers. Watch the next beam pattern, reposition while the elevator is moving, and jump through or over the open sections. In multiplayer, make sure everyone is standing on the platform before it begins its ascent.
How to Defeat the Hollow Wispwyvern
Use the Return Beacon and repair opportunity before the final approach. Repair your weapons and replenish healing items, ammunition, and Mana or stamina recovery supplies. If your equipment is falling behind, you can also upgrade suitable gear with Runes before attempting the dungeon.
The Hollow Wispwyvern takes 150% damage from blunt attacks and 120% from fire. Slashing and Shroud damage are reduced to 80%, while piercing damage falls to 60%. The boss is immune to poison.
Carry a bow regardless of your main build. When the Wispwyvern charges its large breath attack, shoot it in the mouth with an arrow. This puts the boss into a weakened state and creates a reliable damage window for blunt, fire, or carefully timed melee attacks.
Back away when the weakened state ends and wait for another clear opening. Ranged characters should reserve enough Mana or stamina to heal and evade, while melee characters should move in after a major attack rather than remaining beside the boss during its next charge. Spread out in a group so one area attack cannot hit several players at once.
Continue Past the Boss to Complete the Dungeon
Loot the Hollow Wispwyvern, then continue through the last passage into the final room. Defeating the boss is not the dungeon’s final spatial checkpoint. Completion is confirmed when the “Master the Veilwater Basin Hollow Halls” quest objective registers and you receive the quest reward.
The quest awards 400 XP and one Rough Wood Block. The final room also contains two gold and four silver sarcophagi, split evenly between its two sides. Their equipment contents can vary, and neither optional side passages nor decorative discoveries are required to complete the main quest.

0 comments
No comments yet. Start the discussion.
Create an account to comment
Sign in or create a free Guided account to join the discussion.