



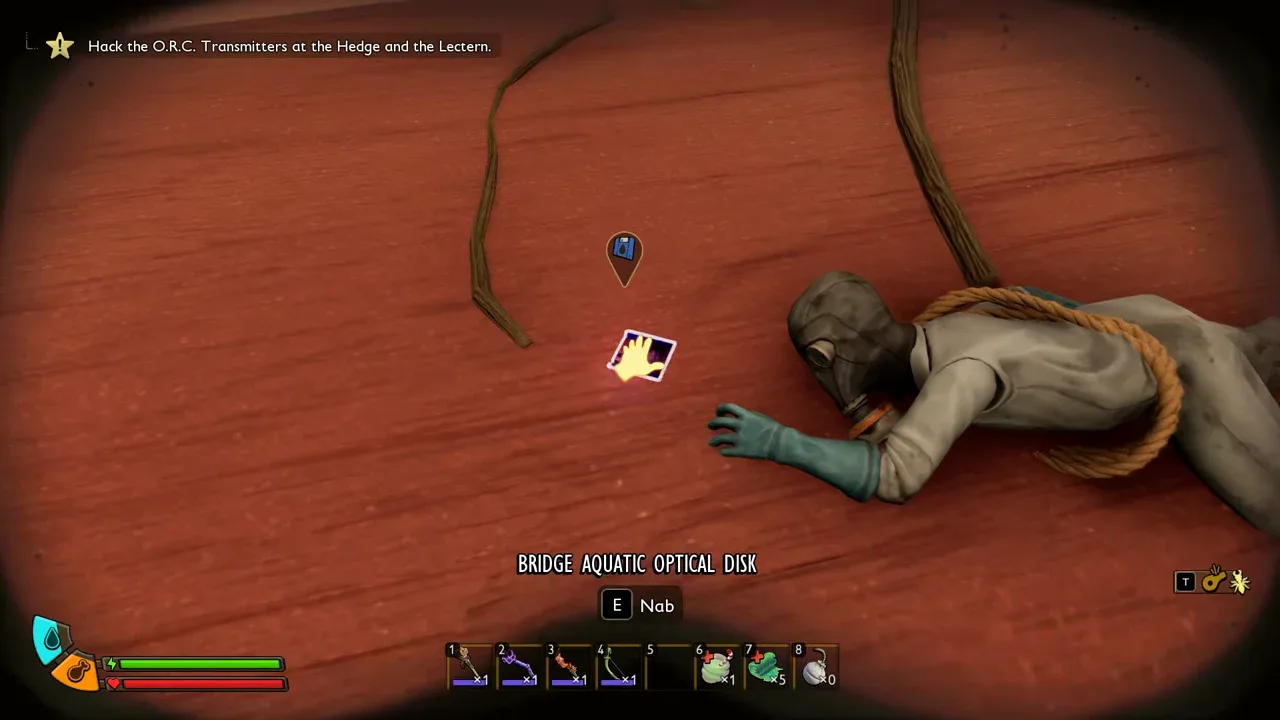


The Diving Suit gives you access to the Abyss in Grounded 2. Before you can craft the complete set, you need to unlock its recipes. This guide shows you where to find all three Aquatic Optical Disks, which materials to gather, and how to pass the barrier.
To pass the Abyss barrier in Grounded 2, collect the Bridge, Gnarly Bark, and Pond Aquatic Optical Disks, process them at a Ranger Station, and buy the three unlocked recipes for a combined 4,500 Raw Science. Craft the Diving Helmet, Diving Suit Chestplate, and Diving Boots, then equip all three pieces at the same time. In a normal game, the SCA.B 2.0 scanner will only authorize you while the complete set is equipped.
This guide covers the stable game branch. Creative Mode lets you open the Abyss hatch without a Diving Suit; public-test builds can use different rules.
Key Takeaways
- The Bridge disk unlocks the Diving Suit Chestplate.
- The Gnarly Bark disk unlocks the Diving Boots.
- The Pond disk unlocks the Diving Helmet.
- Each recipe costs 1,500 Raw Science, or 4,500 for all three.
- The complete set requires 5 Quartz Glass—not 9—plus the other materials listed below.
- At the Moon Pool, all three pieces must be equipped. Merely carrying them does not satisfy the scanner.
Preparation and the Best Order for the Three Disks
You can retrieve the disks in any order. Start with Bridge because it requires no diving gear, then visit Gnarly Bark with a torch or another light source. Save Pond for last and bring a Gill Tube and Fin Flops. The flippers help you swim faster through the underwater section.
Set aside 4,500 Raw Science for the three recipes and make sure you have access to a Ranger Station, its Science Shop, and a Workbench. Costs for any missing production stations are separate. A Buggy can shorten parts of the Bridge and Gnarly Bark trips, but it is not required. If you need to strengthen your combat loadout first, consult our overview of every weapon in Grounded 2. Players working toward the Spicy Coaltana can also use our guide to finding Spicy Globs.
1. Bridge Aquatic Optical Disk: Diving Suit Chestplate
- Starting at the Barn, follow the Pond wall until you reach the broken bridge.
- Descend from the wall toward the bridge, then climb the wooden planks.
- Turn right at the top, cross the rope to the next group of planks, and jump onto the final plank holding the disk and its guard.
- Clear away any troublesome Ticks first. According to the location source, you do not have to kill the guard: keep your distance on the right and lure it across the gap, or run past when the disk becomes accessible.
Process the Bridge disk at a Ranger Station, then open its related unlocks. The displayed recipe cost tells you how much Raw Science to set aside.
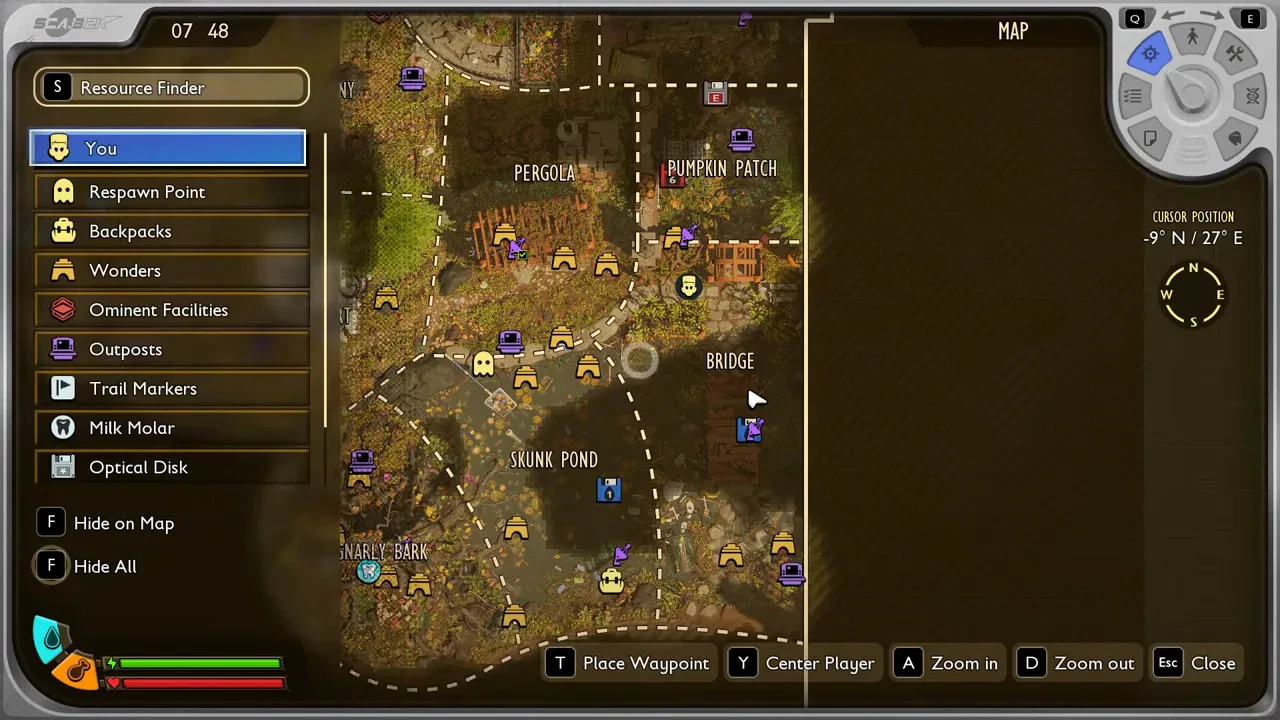
2. Gnarly Bark Aquatic Optical Disk: Diving Boots
- Find the tree below the Excavator and Controller. A red toy car at its base identifies the correct starting point.
- Facing from the car, climb the left branch, pass the mushrooms, and enter the opening in the trunk.
- Continue uphill through the dark interior, passing the matches and candle.
- Use the projecting piece of bark to jump into the chamber. The disk is beside a body inside.
You can use enemies fighting each other as a distraction or draw one away before grabbing the disk. A Buggy is only a shortcut; a light source is the important preparation. Processing this disk unlocks the Diving Boots recipe, which costs 1,500 Raw Science.
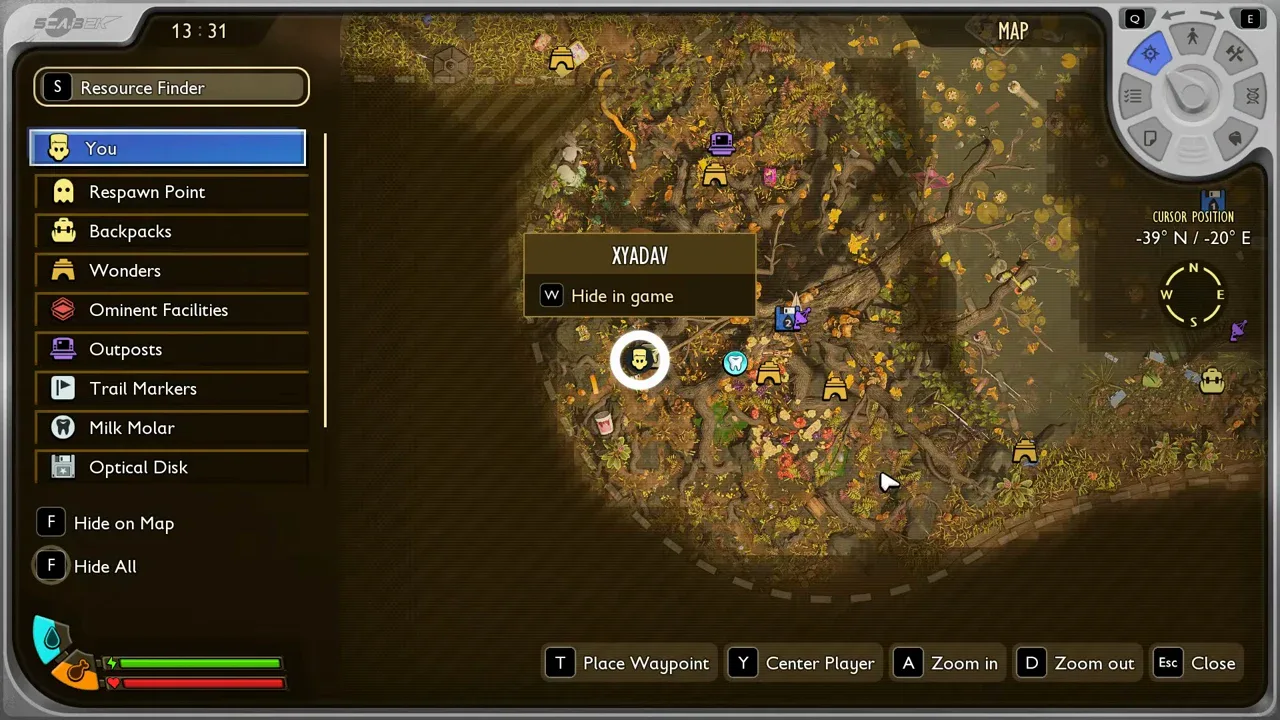
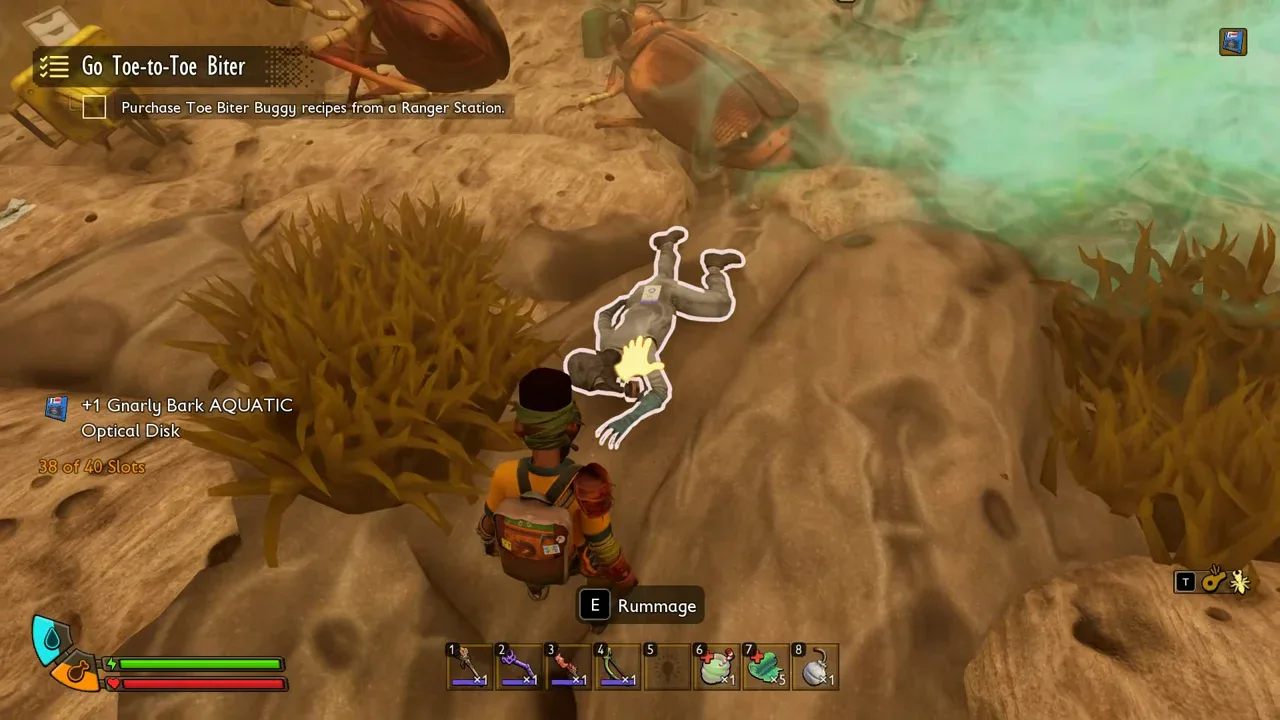
3. Pond Aquatic Optical Disk: Diving Helmet
- Begin at the handle of the net and move across the Pond toward the visible green bench.
- From the Lily Pad or faucet, dive toward the bench and look for the white pipe elbow underwater.
- At the elbow, look slightly down and to the left. The station entrance is behind a large Toe Biter, which can reportedly be avoided rather than fought.
- Swim past the Toe Biter, climb the entrance ladder, continue straight through the hallway, and take the second ladder down into the main area.
- Inside the lab, look to the left for the Pond disk on a cart. The station has a Ranger Station where you can process it immediately.
Process the Pond disk at a Ranger Station and check its related unlocks. Set aside the Raw Science cost shown for the recipe before continuing.
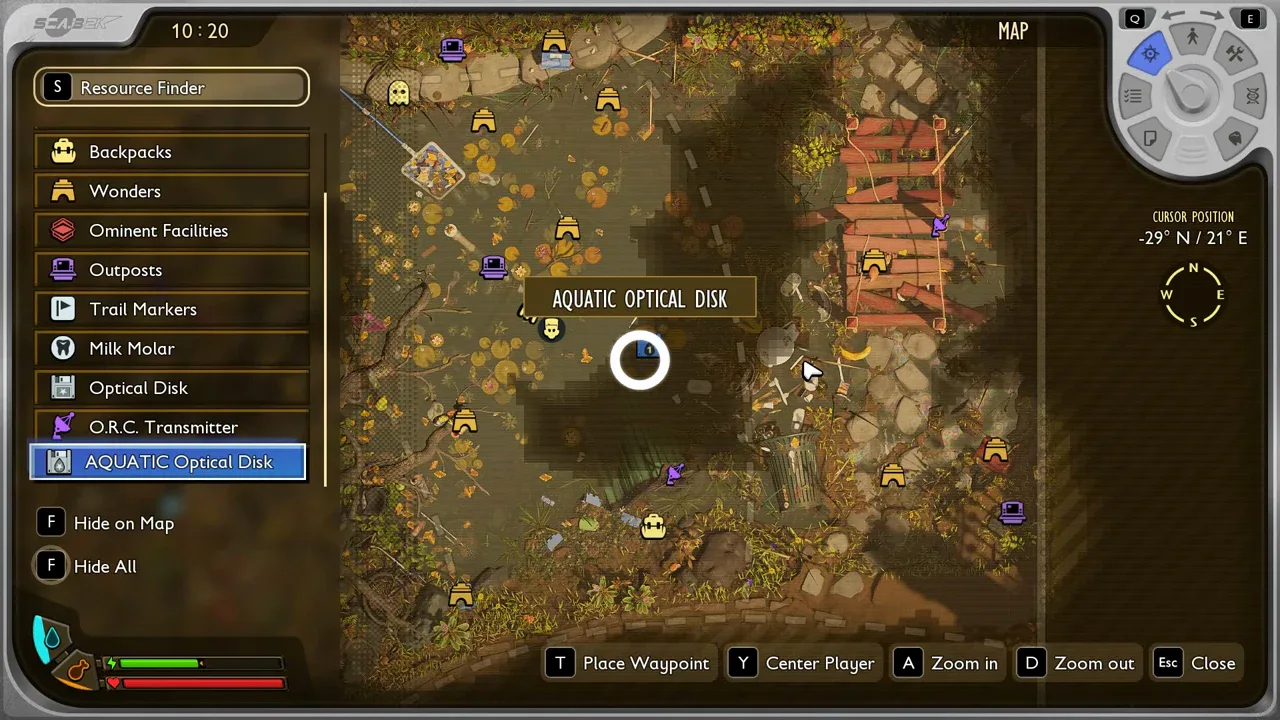
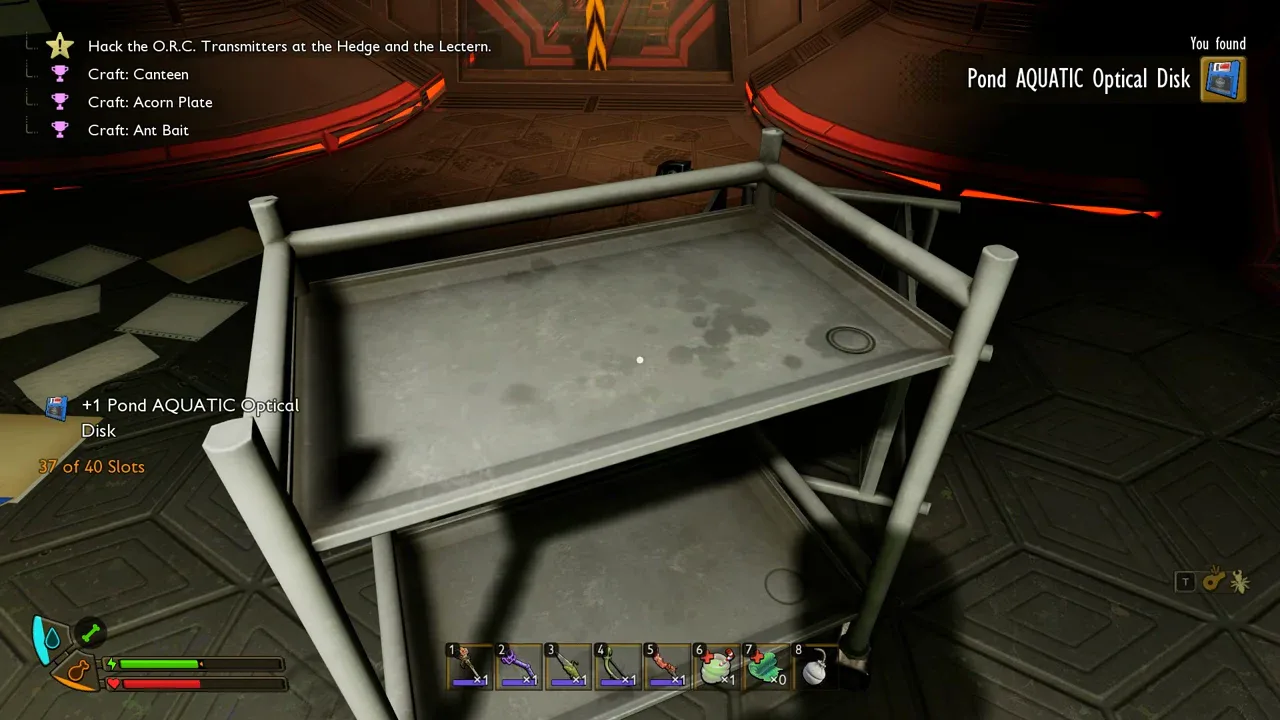
An additional location video for the Aquatic Optical Disks:
All Materials for the Complete Diving Suit
| Armor Piece | Recipe |
|---|---|
| Diving Helmet | 3 Quartz Glass, 2 Toe Biter Shell, 2 Cattail Fluff, 2 Wax |
| Diving Suit Chestplate | 5 Chrysalis Leather, 2 Quartz Glass, 5 Cattail Fluff, 4 Lint Rope |
| Diving Boots | 4 Chrysalis Leather, 2 Fire Brick, 4 Toe Biter Shell, 3 Wax |
| Total | 5 Quartz Glass, 6 Toe Biter Shell, 7 Cattail Fluff, 5 Wax, 9 Chrysalis Leather, 4 Lint Rope, 2 Fire Brick |
All three pieces are crafted at a Workbench. The 4,500 Raw Science covers only their three recipe purchases. Adding the individual recipes gives a total of 5 Quartz Glass; the earlier candidate figure of 9 is inconsistent with both the three item recipes and the combined material table.
Production Stations and Recommended Crafting Order
Process Phantom Quartz into Crushed Quartz at a Quern, then make the required Quartz Glass in a Kiln and Fire Bricks in an Oven. Check the recipes to see which materials and quantities you still need.
- Quern construction: 4 Clay, 3 Sturdy Quartzite Shard, 2 Lint Rope, 3 Pinecone Piece, and 2 Striped Scorpion Chunk.
- Kiln construction: 8 Fire Brick, 5 EverChar Coal Chunk, 3 Green Shield Bug Parts, 4 Rust, and 3 Horsetail Stem. If you still need to build it, your total Fire Brick requirement rises from two to ten.
- Check the available recipe and its displayed materials before building.
Craft the Diving Helmet first if you want help with later underwater trips, followed by the chest piece and then the weighted boots. The boots change underwater movement and are less convenient before the full set is ready. To conserve Chrysalis Hide, the consulted guide recommends making Chrysalis Leather at a Jerky Rack, where it records a one-to-one conversion instead of the three hides used at a Workbench.
How to Open the Abyss Barrier
- Return to Ranger Outpost: Skunk Pond and follow the large pipe down or southeast through the deep canyon toward the Diving Station.
- Take the ladder into the station and follow the corridors to the Pneumatic Transit System.
- Ride the system to the Moon Pool area.
- Equip the Diving Helmet, Diving Suit Chestplate, and Diving Boots simultaneously in the head, chest, and leg slots.
- Walk past the SCA.B 2.0 scanner. With the full set equipped, it should authorize access and open the floor hatch.
- Descend through the hatch. The weighted boots make your character sink or walk down the shaft instead of swimming normally.
Fully repair all three pieces before your first descent and keep the complete suit equipped in the Abyss. In Creative Mode, you can open the hatch without the suit.
Why the Scanner Still Says “Unauthorized”
- A recipe is missing: Confirm that you processed the correct disk at a Ranger Station and then purchased its 1,500-Raw-Science entry from the Science Shop.
- The pieces are only in your inventory: Equip all three exact Diving Suit items. A Gill Tube, Koi Scale Armor, or other oxygen bonuses do not replace them.
- The normal oxygen display remains: The full set is reported to remove the normal oxygen timer. If you still see only an extended countdown, check for a missing or incorrect armor piece.
- A body or disk is missing: Update to at least Patch 0.5.0.5. Obsidian specifically documented a fix for missing Ominent bodies that made some Optical Discs impossible to collect on affected saves.
- The problem continues on 0.5.1.1: Reload the save and inspect all three armor slots again. If the scanner remains locked with the correct set equipped, treat it as a possible bug and report it through the official issue tracker instead of relying on an unverified workaround.
This guide intentionally makes no claim about whether disk and Science Shop progress is individual or shared in co-op. The consulted MetaForge pages conflict on that point, and the distinction is not required to complete the core unlock process.

0 comments
No comments yet. Start the discussion.
Create an account to comment
Sign in or create a free Guided account to join the discussion.