


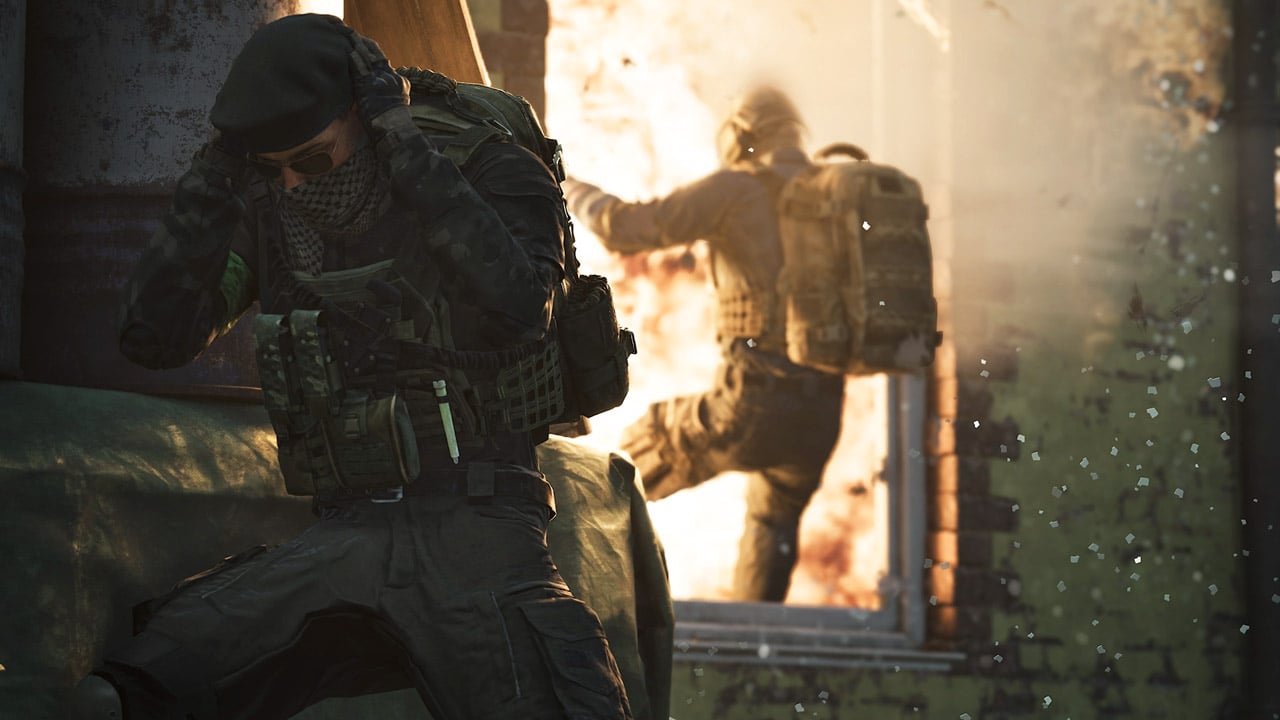


If you want to destroy enemy FOBs in WARDOGS, using the wrong explosives can empty your backpack surprisingly fast. We show you how to break into bases efficiently and which weak points can save you several charges.
WARDOGS reached two million sales in its first week, and you can now also rent your own community servers. If you want to raid enemy FOBs with your squad, it helps to know exactly how much explosive power you need beforehand. We show you how to destroy walls, gates, and turrets with C4 and IEDs, and which building mistakes can make an attack much easier.
Looking for teammates? Join our WARDOGS Facebook group – and invite your friends too!
WARDOGS: Destroying FOBs and Raiding Bases With C4 or IEDs – Which Is Better?
FOBs are forward operating bases that teams can secure with walls, gates, and defensive structures. The following damage values can help you plan your attack. Depending on distance and placement, however, your explosives may deal less damage. C4 can be thrown quickly, and several charges can be detonated at once with a remote trigger. This is especially useful when you want to breach a wall before the defenders can react. The detonator can also be used through a quick-access slot.
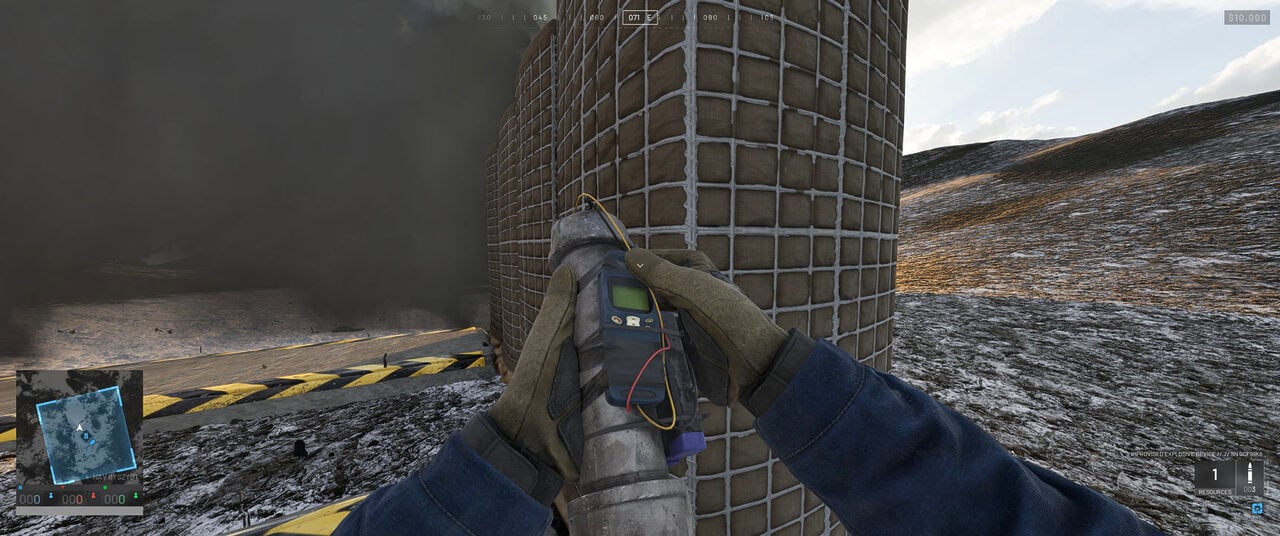
An improvised explosive device, or IED, weighs three kilograms and takes up two inventory slots. You do not need an additional detonator. However, placing it takes longer, and afterward you need to trigger the explosive with a phone. Both actions make your attack easier to hear.
- C4 allows for fast breaches.
- IEDs can save several charges against certain targets.
Which option is better therefore depends largely on what you are attacking.
Destroying Walls, Gates, and Doors in WARDOGS: How Much Explosive Do You Need?
Large HESCO walls are earth-filled defensive barriers. They are significantly weaker than the massive Bremer concrete walls. In many cases, doors and gates are an even cheaper way into a base.
| Target | C4 | IED |
|---|---|---|
| Large HESCO Wall | 4 charges | 2 explosives |
| Bremer Concrete Wall | 7 charges | 5 explosives |
| Door | 1 charge | 1 explosive |
| Gate | 1 charge often destroys one panel and heavily damages the other | 1 explosive with good placement |
The values for walls assume full damage and no repairs. One C4 charge deals around 28 percent damage to a large HESCO wall, while one IED deals around 53 percent. Against a concrete wall, the values are about 15 and 21 percent respectively.
If you use two IEDs one after another, defenders may have time to repair the damaged wall between explosions. Several C4 charges detonated simultaneously do not give them that opportunity.
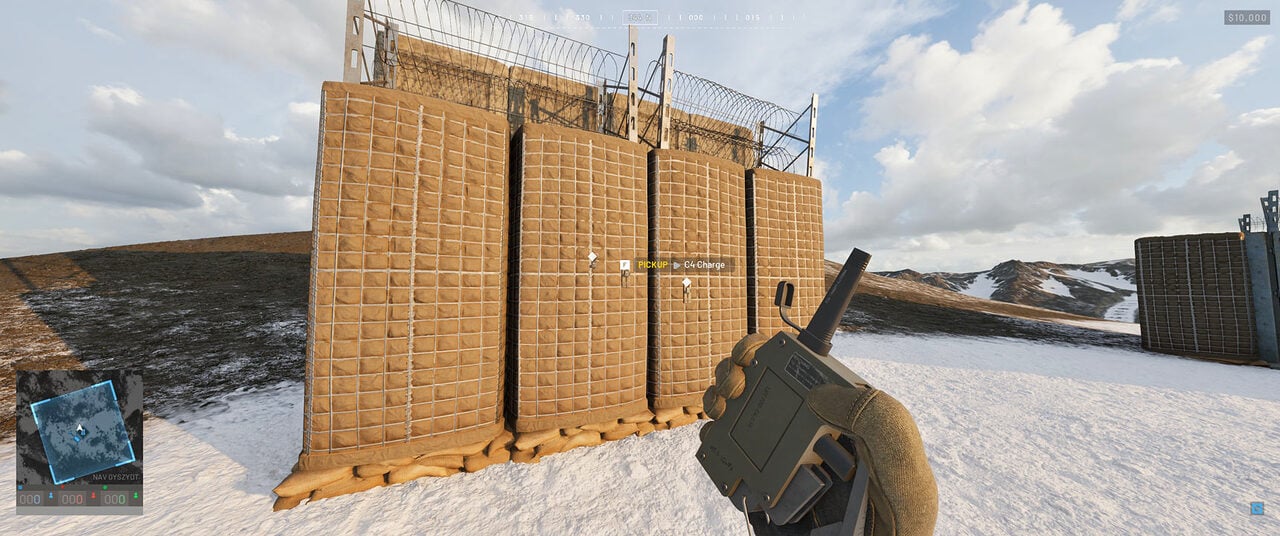
Multiple Wall Layers Stop Explosive Damage
An intact wall protects the layer directly behind it from explosive damage. Four C4 charges detonated at the same time can therefore destroy the outer HESCO wall without also tearing down the wall directly behind it.
If you are building your own FOB, a second layer is therefore worth considering. A hidden concrete wall behind the outer HESCO barrier increases the amount of explosives attackers need even further. Two small HESCO blocks stacked on top of each other, on the other hand, provide less protection than one large HESCO wall.
Doors and Gates Are Often the Cheaper Entry Point
Doors can also be opened without explosives by using a large hammer or crowbar. With gates, the result of a C4 charge depends heavily on where it is placed. If the gate panels survive with only a small amount of health remaining, a few shots may be enough to finish the job.
A destroyed gate also cannot be replaced immediately. Defenders first have to remove the remaining foundation. That gives you some time to push through the opening.
Tight Airlocks Can Lose Several Doors at Once
Unlike massive walls, doors do not reliably block explosive damage for doors positioned behind them. If several doors are placed too close together, one explosive charge can destroy multiple doors at once. Closely spaced gates are vulnerable as well. One IED can hit several gate panels placed behind each other and open the entire airlock.
When building your own airlocks, make sure there is enough distance between each entrance. If one opened gate almost touches the next, they are too close together.
Destroying FOBs and Turrets in WARDOGS: Choosing the Right Explosive Matters
Inside the base, matching the explosive to the target becomes especially important. The Vanguard and Talon defensive systems react very differently to C4 and IEDs.
| Target | C4 | IED |
|---|---|---|
| Vanguard | 3 charges | 1 explosive |
| Talon | 1 charge | 4 explosives |
| FOB itself | Around 5 charges | 1 explosive |
Use an IED against the Vanguard and C4 against the Talon. One C4 charge only deals around 40 percent damage to the Vanguard. Against the Talon, meanwhile, one IED only deals 25 percent. Choosing the wrong explosive can therefore cost you several extra charges.
A single IED is enough for the FOB itself. Placement matters, however: Charges placed on the rear side without the computer can fail to deal damage.
Disable the FOB First, Then Dismantle the Rest of the Base
If you reach the FOB directly, you do not have to destroy every turret first. Once the FOB has been destroyed or successfully hacked, the structures linked to it can be dismantled with a hammer. This saves explosives for other targets.
Destroying the FOB also removes the weapons and resources stored inside it. This damages the enemy team’s supply network and limits how effectively they can keep their drills operating.
Destroying Drills in WARDOGS: C4, RPGs, and Rewards Explained
You can destroy drills at close range with C4 or attack them from a distance with an RPG. When using an RPG, aim for the antenna.
| Method or Target | Required Hits or Reward |
|---|---|
| C4 against a Drill | 2 charges |
| RPG against the Antenna | 3 hits |
| Destroying an Inactive Drill | $4,500 |
| Destroying an Active Drill | $9,000 |
If you have a clear line of sight to the antenna, you can disable a drill without breaking into the base at all. Whether a single IED is also enough has not been confirmed by the available tests.
Rockets are less efficient against gates. With an RPG or MAWS, you need three hits for a gate and one for a door. The advantage is that you can attack from much farther away.
Bunkers and Barbed Wire: These Weak Points Can Save Explosives
Bunkers and watchtowers near the edge of a FOB can offer an easier way inside than the main wall. Their individual parts have different durability values.
One C4 charge, for example, can destroy a sandbag section next to a larger HESCO structure. The resulting gap may already be wide enough to crawl through. Before blowing up the entire fortification, check whether destroying a smaller section is enough.
Barbed wire can even be damaged with punches. Three hits deal around 22 percent damage. If you can reach the top of the wall using a vehicle or nearby cover, you can gradually remove the wire this way.
0 comments
No comments yet. Start the discussion.
Create an account to comment
Sign in or create a free Guided account to join the discussion.