





The morbid action-adventure Hell is Us throws numerous obstacles into Rémi’s path – especially in the form of puzzles. This walkthrough follows the main-story route through all three acts, with key puzzle solutions, combat tips, and screenshots for the trickier locations.
In this walkthrough, you will learn:
- How to complete the main story across all three acts of Hell is Us.
- Solutions to the main-story puzzles.
- Useful tips for gameplay and combat.
Act 1 – Family Reunion
- My walkthrough for Hell is Us begins in Senedra Forest. Go to the Caddell Farm (follow the path) and talk to Ernest Caddell to receive a key. Use it to open the gate.
- Follow the wind chimes to the ruins. Speak with the gravely wounded soldier, retrieve a medkit from the OMSIF camp (follow the ‘X’ marks on trees), and trade it with him for an ancient mechanism. Insert it into the stone and solve the puzzle (order: Crown, Eye, Pickaxe) to open the door.
- Go down the stairs. Enter the room to trigger a cutscene and start the first battle.
- Defeat the enemy, then solve the door puzzle (order: Tower, Snake, Fire).
| Want a review? I’ve played through Hell is Us completely and shared my impressions in this review article. It highlights all the strengths and weaknesses of the mystery adventure and makes clear who will enjoy Rogue Factor’s creation. |
From here, the path is fairly linear.
- After defeating the Feral Hollow Walker, pull the lever to exit and pick up the APC key.

including the APC key.
- Return to the APC and drive to the Acasa Marshes.
The Village of Jova
- Reach the village of Jova by simply following the path. Talk to the NPCs to find the blacksmith. Only two of them provide decisive hints, though.
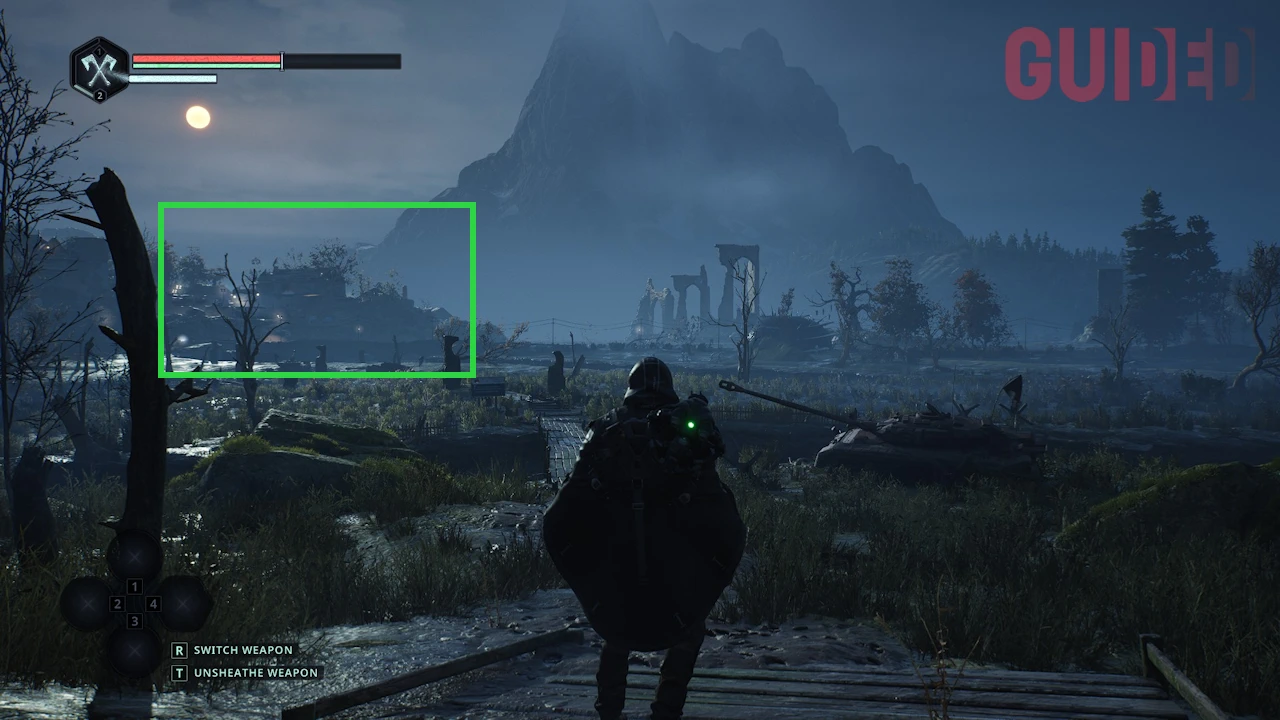
- Get the map from the ON outpost, head to the tunnel to the right of the APC, and defeat the enemies inside. Warning: this is the largest enemy group Rémi has faced so far. After your victory, talk to Victor Gaz to obtain Vitalis’s house key.

- Return and enter the house. Collect the family photos and place them in the correct order; arrange them chronologically. The soapbox car photo goes in third.
- Use the necklace to obtain the third picture. Solve the door puzzle with the code 32-17-13 to open the basement and collect the Vigil Note.
- Talk to Victor again to unlock the crafting system. Upgrade your preferred weapon to unlock glyphs. Then return to the APC.
- Drive the APC to Vyssa Hills and find your father Vitalis on the main road. He will give you the important “Keystone of Grief.”
- Go through the wooden gate, find Tania, and collect the Candle Emblem. Not far from Tania’s location lies Agatha’s corpse, from which you’ll obtain the Book Emblem.
- Climb the ladder behind you to reach the Watcher’s Nest. Use both emblems to open the door.
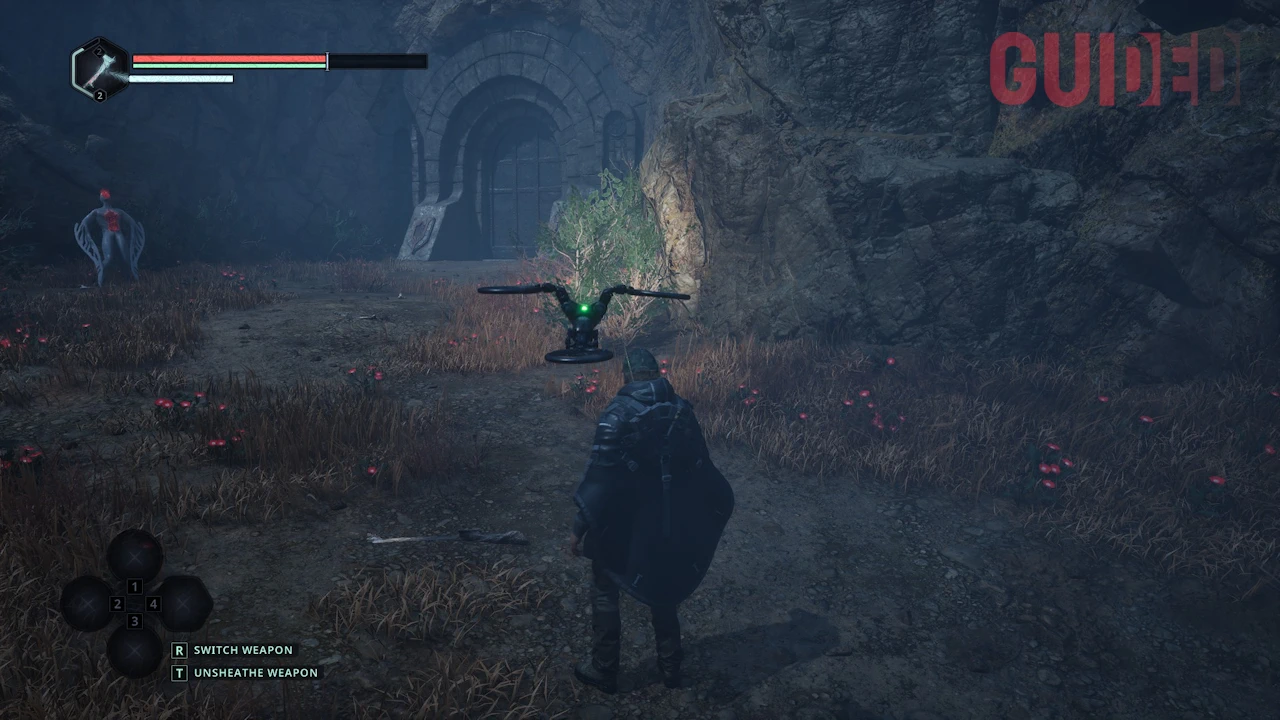
- Climb down the ladder into the tomb and collect four ceramic flowers from the coffin. Back in the main chamber, place them beneath the Grief symbol near the entrance, by the right-hand metal shield, in the 1513 slot to the right of the blue banner, and in the left slot behind the whiteboard for Pentos Algea. Return to the tomb and pull the lever to open the coffin and obtain the Blue Flower Scroll.
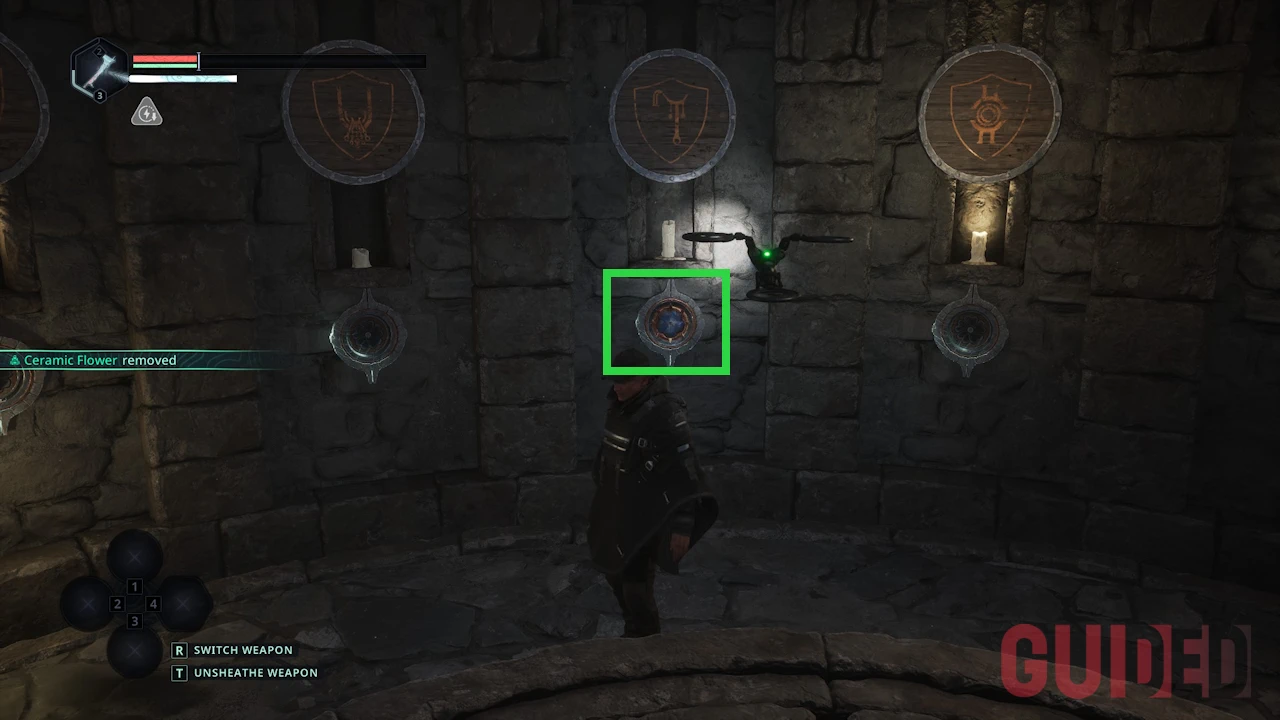
Place one ceramic flower beneath the Grief symbol near the entrance.

Place the second flower by the right-hand metal shield.

Insert the third ceramic flower in the 1513 slot to the right of the blue banner.
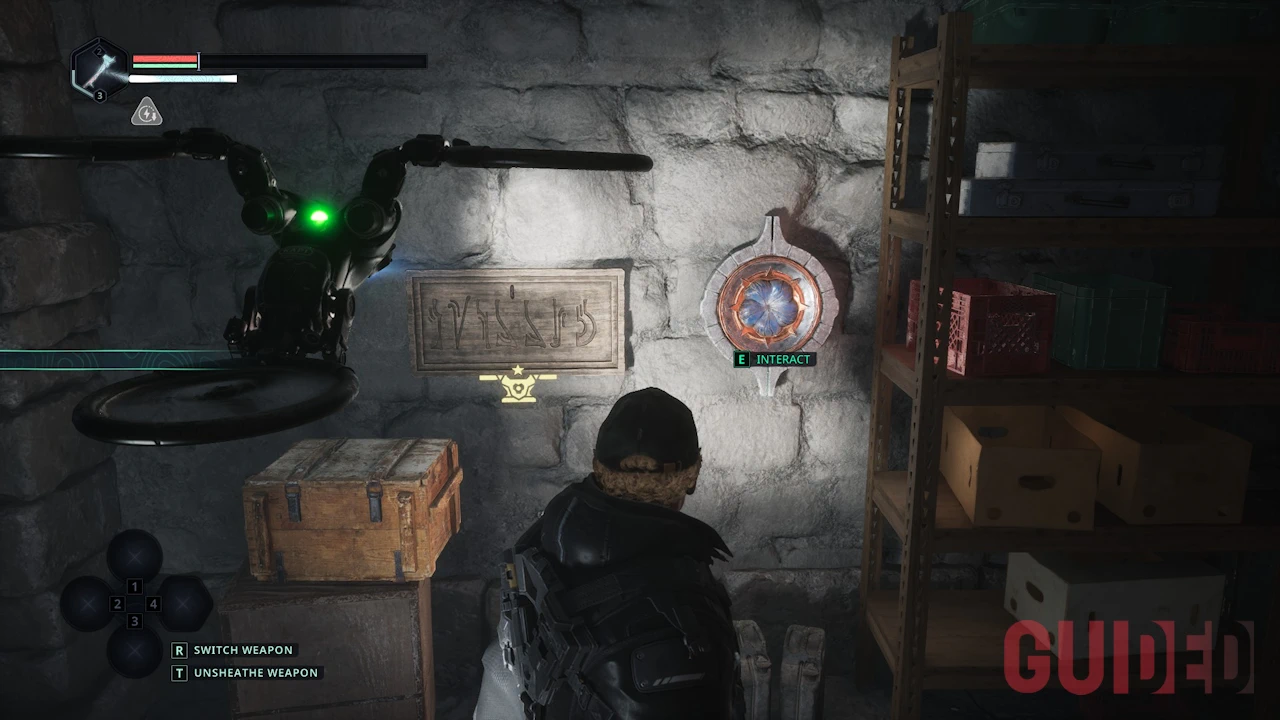
Behind the whiteboard, use the left-hand slot for Pentos Algea.
- Return to the APC and talk to Tania. Then travel to Senedra or Acasa and speak with Caddell, Jaffer, or Rebecca. This unlocks the next map: Lake Cynon.
Lake Cynon
- Return to the APC and head to Lake Cynon. Solve the pillar puzzle to obtain the small gear for the mechanism and drain the water. You must hit the pillars with your weapon. Order: Crown, Water, Key, Star, Chalice.
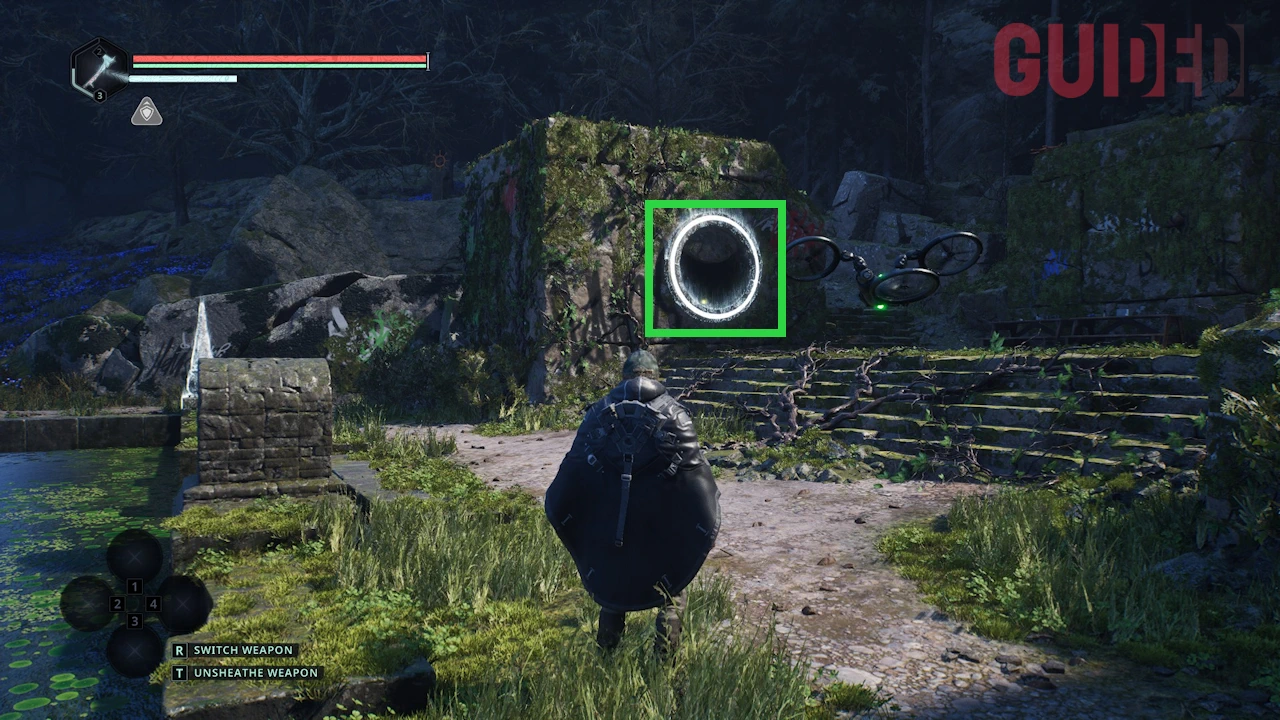
After smashing the pillars, you’ll find the gear at the green marker.
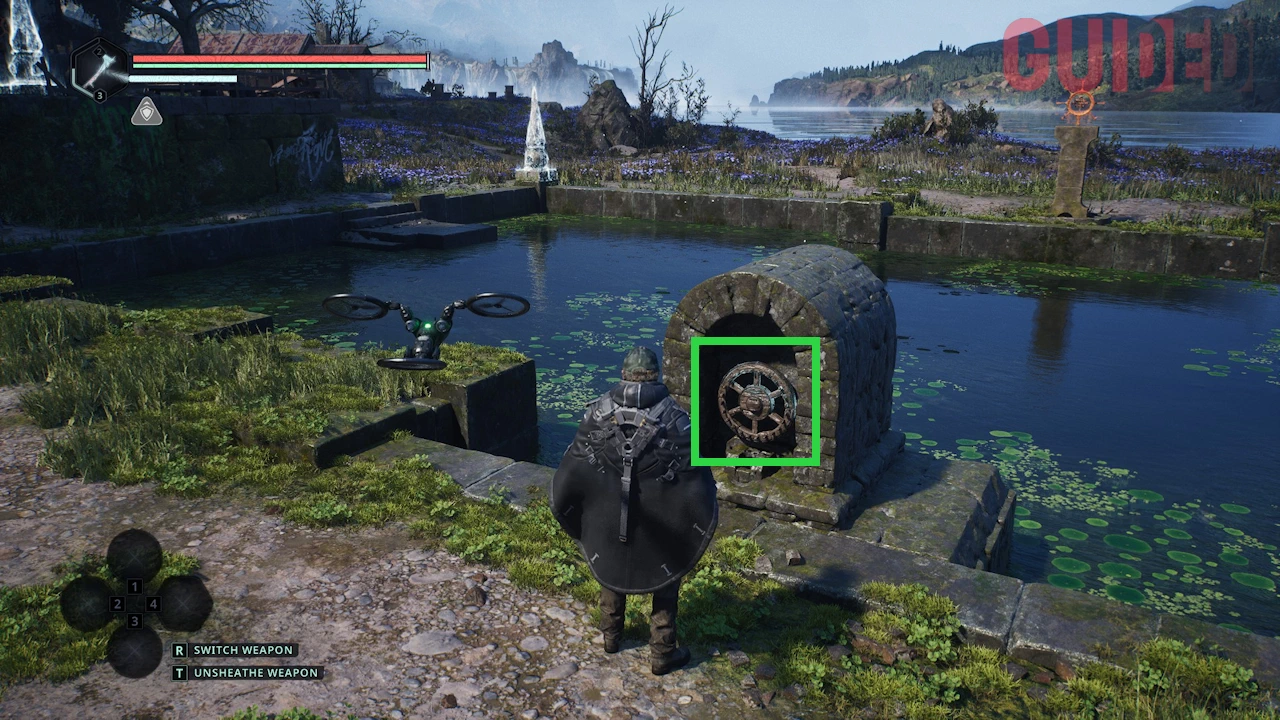
You’ll need the gear for this device.
- Go to the mechanism and activate it with the gear to drain the water.
- Enter the Lymbic Forge. In the torch room, use the compass and rotate only the four torches on the north and south walls. The hidden panel then opens.
- Find the sigil “Order of the Eye.” Return to the main hall and go left to get the sigil “Phol Guard.” Use both sigils to open the door.
- Now collect the Owl Key. Open the new room and find the spoked gear for the left lever of the large machine. Use it to drain more water.
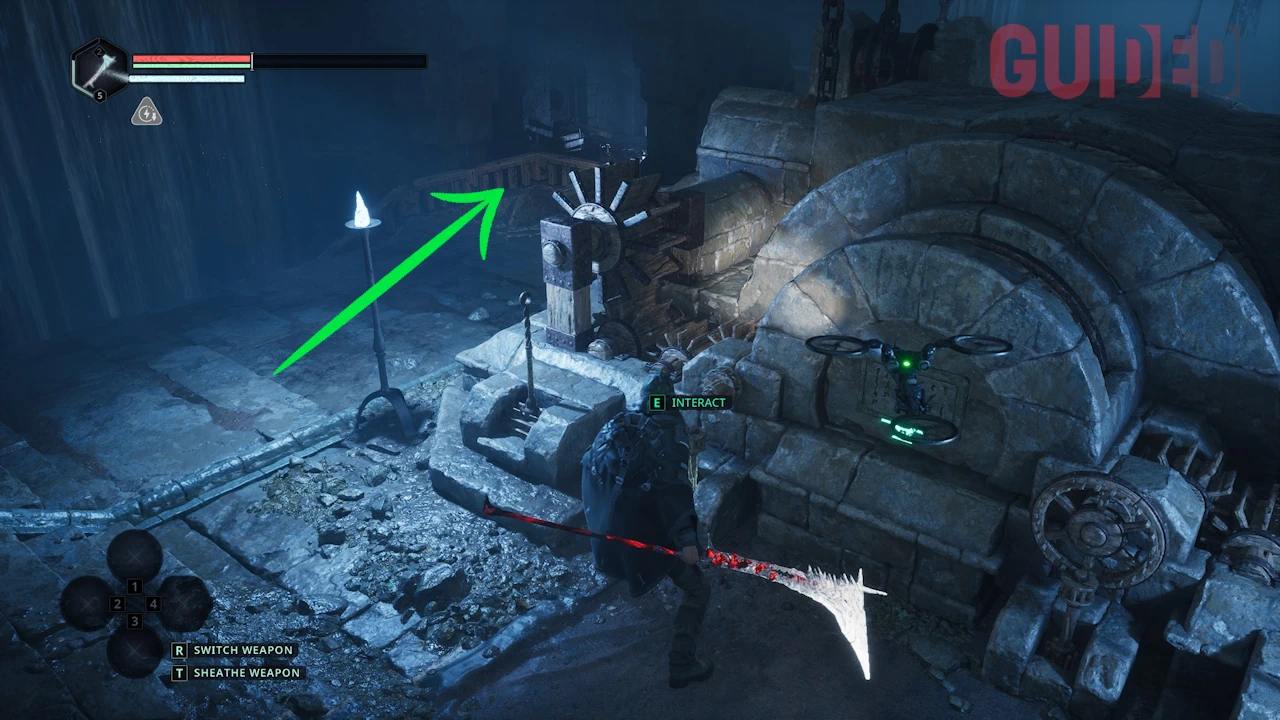
To get the spoked gear, go to the large machine and head left.
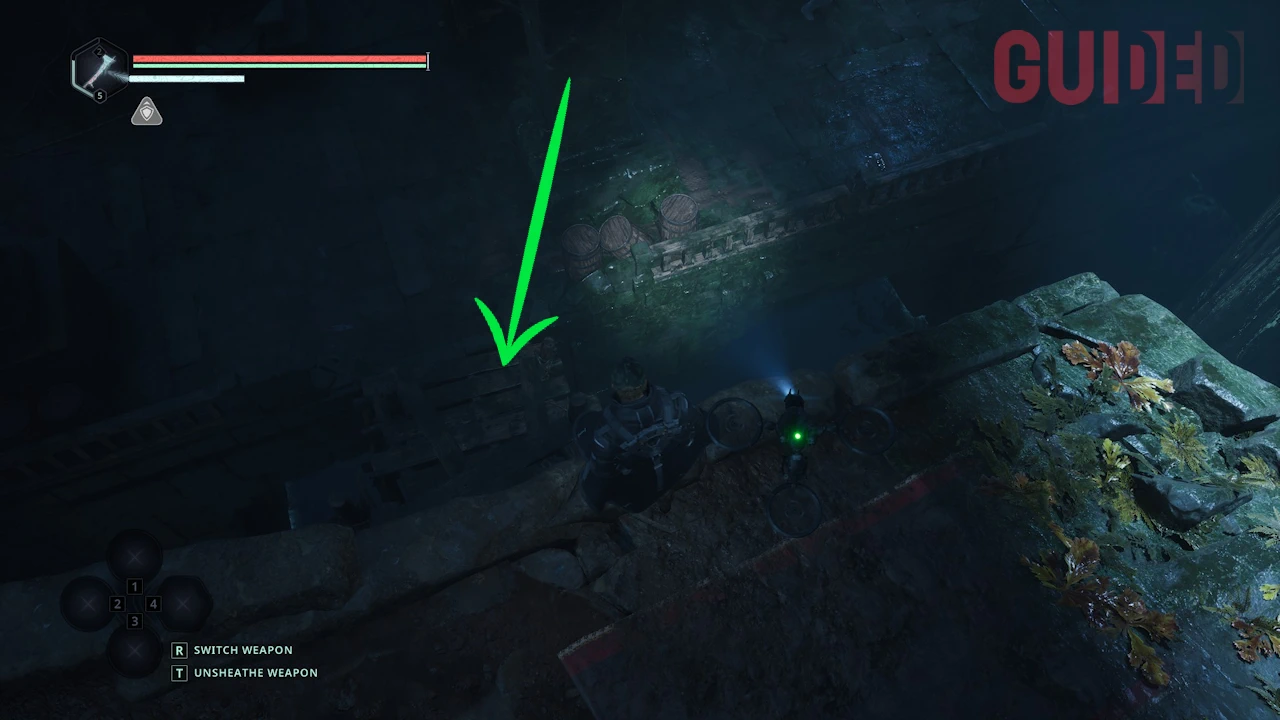
Drop down to grab the yellow object.
- Go right from the mechanism, open the door with the lever, and pick up the large gear for the right lever of the machine. Drain the final water level.
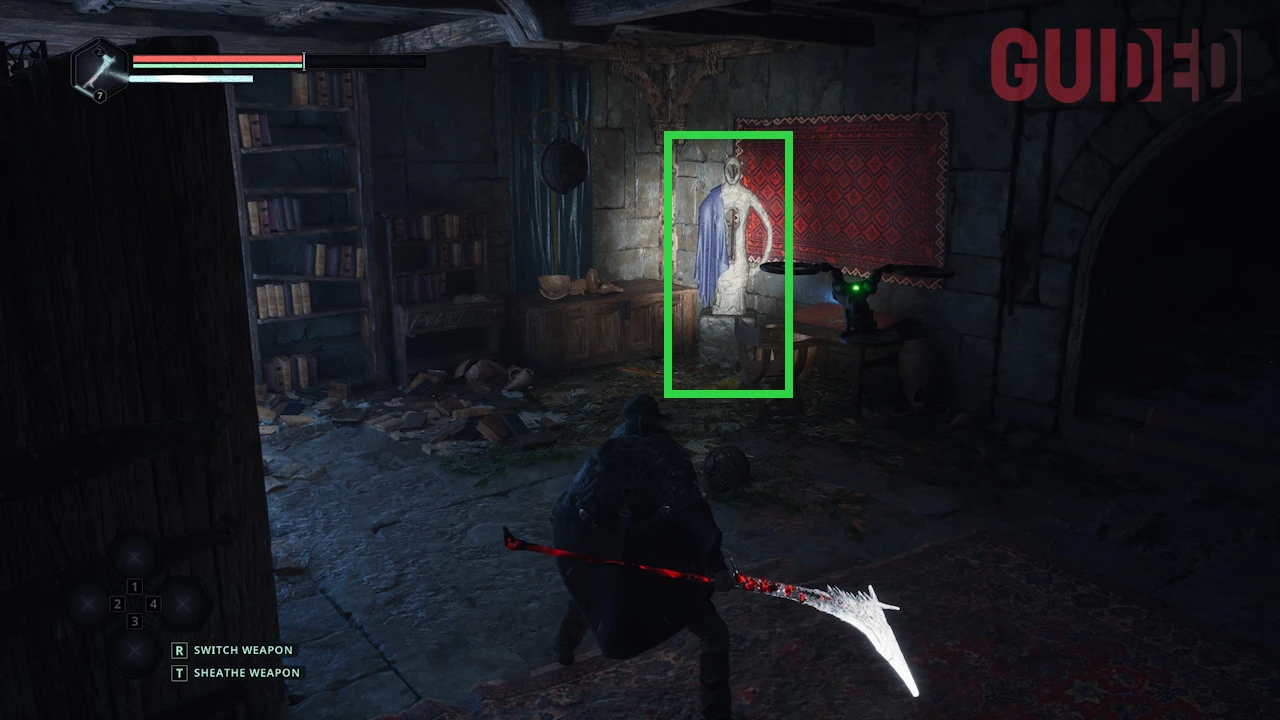
- Take the elevator deep underground and defeat the guardian by dealing heavy Grief damage.
- Pull the lever, take the hammer, and insert it into the tablet at the door behind the large machine.
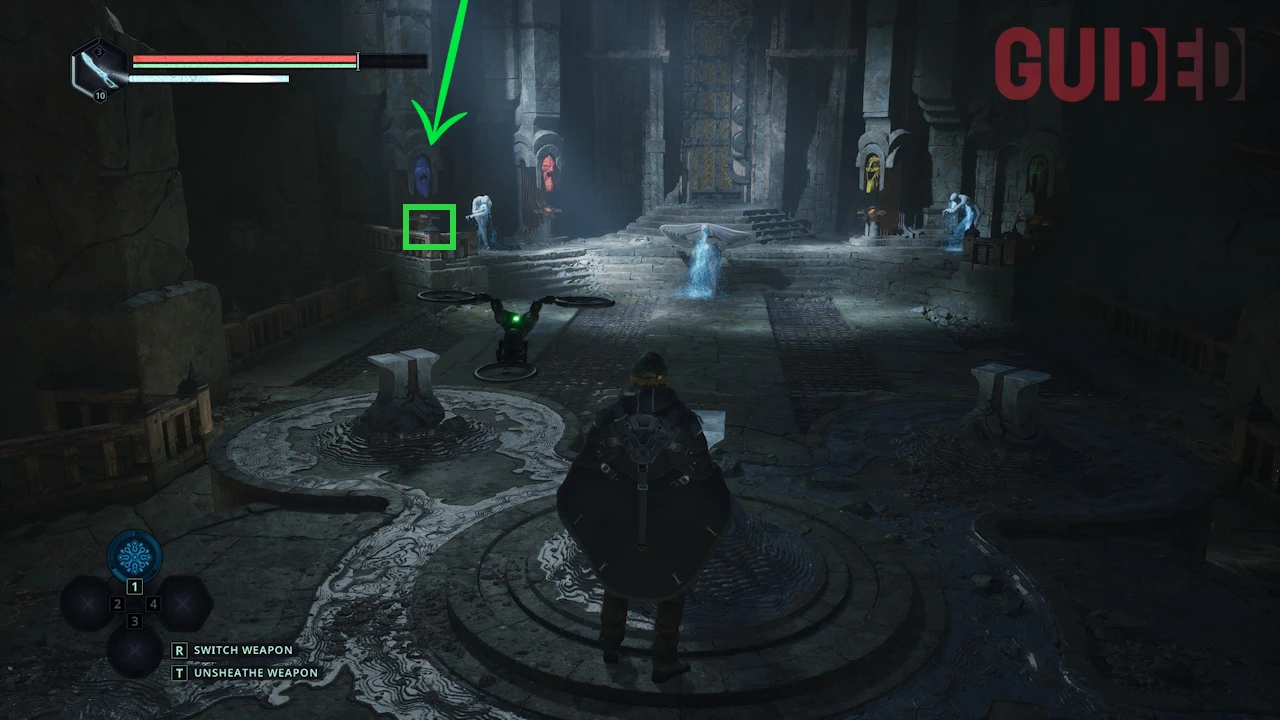
- Defeat the enemies. Place the “Keystone of Grief” at the blue mask on the far left of the chamber. After a cutscene, Act 1 is complete.
Act 2 – Tracking Terror
- After placing the “Keystone of Grief” and speaking with Tania, return to the APC and ask her about the “Symbol of the Screaming Face.” This unlocks the region of Talju.
Talju
- Travel to Talju.
- Go to Boro’s Workshop and ask Baro Juven about Caspian Fran.
- Go to the Town Hall and find Caspian Fran.
- Ask him about Lukhan; he will then give you a Walkie-Talkie.
- Go to the school and meet Lukhan in the maintenance room.
- Trade the Walkie-Talkie with him for information, then return to Caspian.
- Caspian will now give you the parking lot key. Use it to open the gate and power on the PC.
- Additionally, speak with Caspian about the Symbol of the Screaming Face and the Blood Queen.
- This unlocks Marastan.
Marastan
- Travel to Marastan.
- Find Talis and ask him about the statue.
- Defeat the enemies in front of the church and get the Statue Key from Talis.
- Use the key to open the gate at the statue.
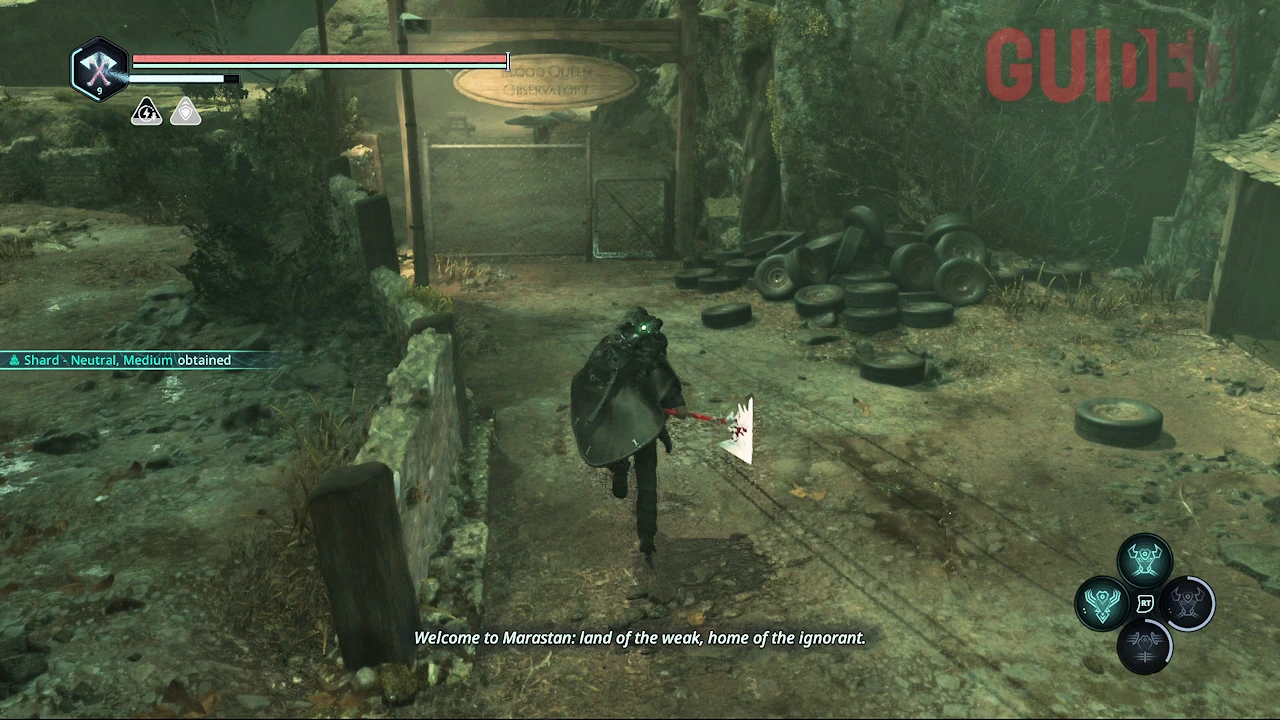
- Take the left path, climb the ladder to the observatory.
- Look through the telescope to locate the Blood Queen’s Tomb.
- Go to the cemetery and solve the eagle puzzle by turning all six eagles to face east.
- Inside the tomb, collect three tablet fragments: Square, Oblique, Angled.
- Leave the tomb and follow the telescope’s direction to a puzzle door in the forest.
- From the APC, head right until you find a wooden bridge.
- Insert the tablet fragments into the matching pillars.
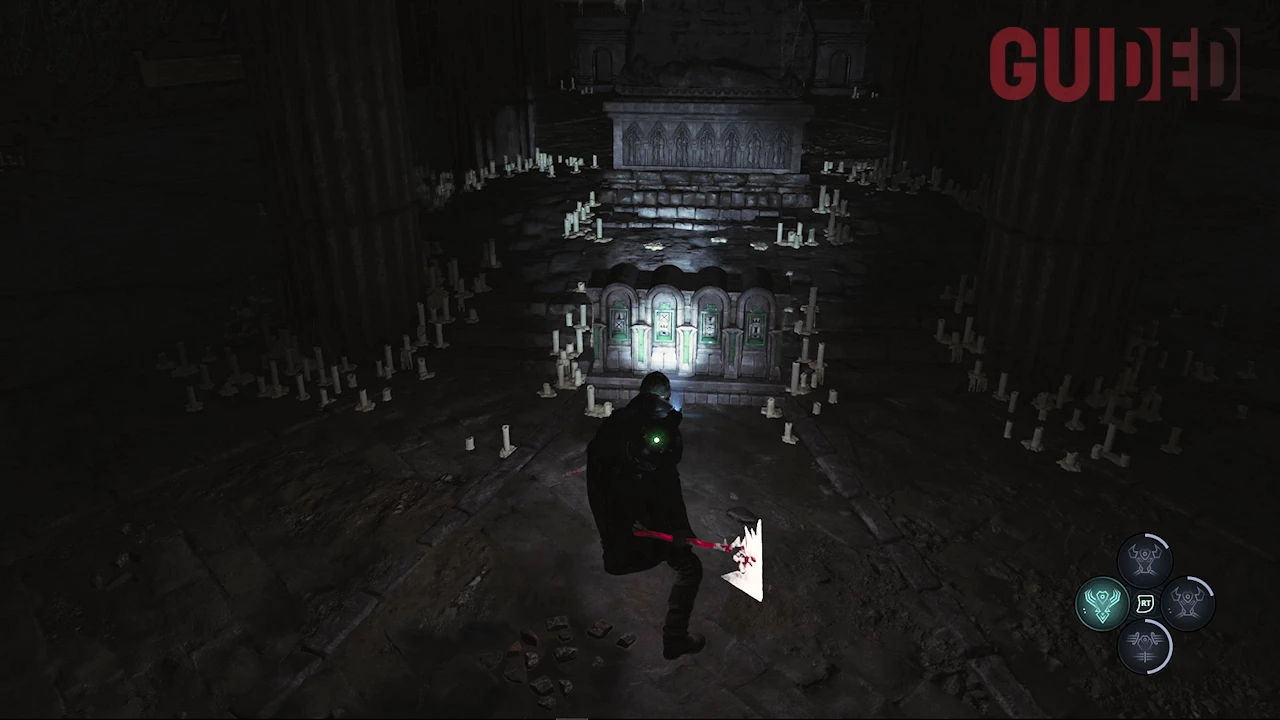
- A door will open. Inside, solve the tomb puzzle to obtain the Blood Queen’s Sword. The symbols must show: Swords, Crown, Eye, Tower.
Senedra Forest
- Travel back to Senedra Forest and head northeast to the Arcas Spire.
- Use the Blood Queen’s Sword at the statue to open a door.
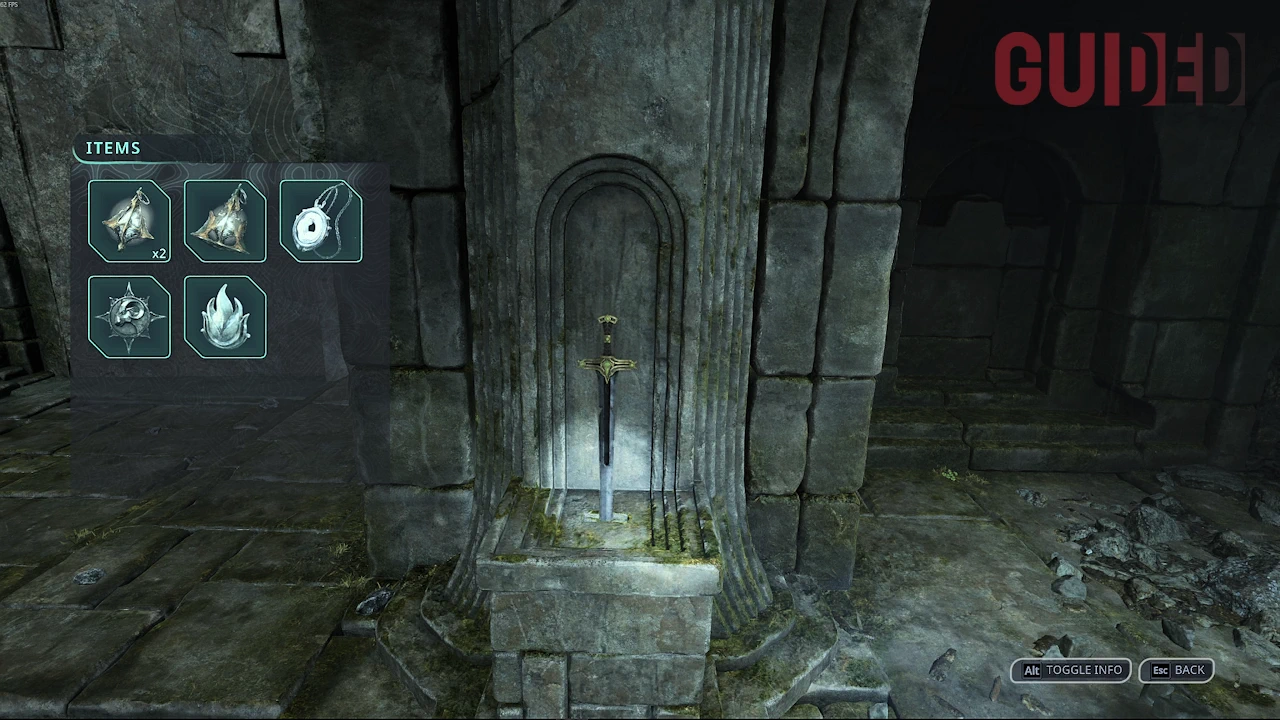
- Walk down the corridor, pass through the Dynasty Warriors room, and climb the ladders to the Pile of Bones.
- Pick up the elevator gear and activate the elevator.
- In the lever-and-pressure-plate chamber, trigger A1 and pull the Tower lever, trigger F4 and pull the Two-Headed Snake lever, then trigger B2 and pull the Skull lever. The cages are timed, so return to each lever quickly after stepping on its plate.
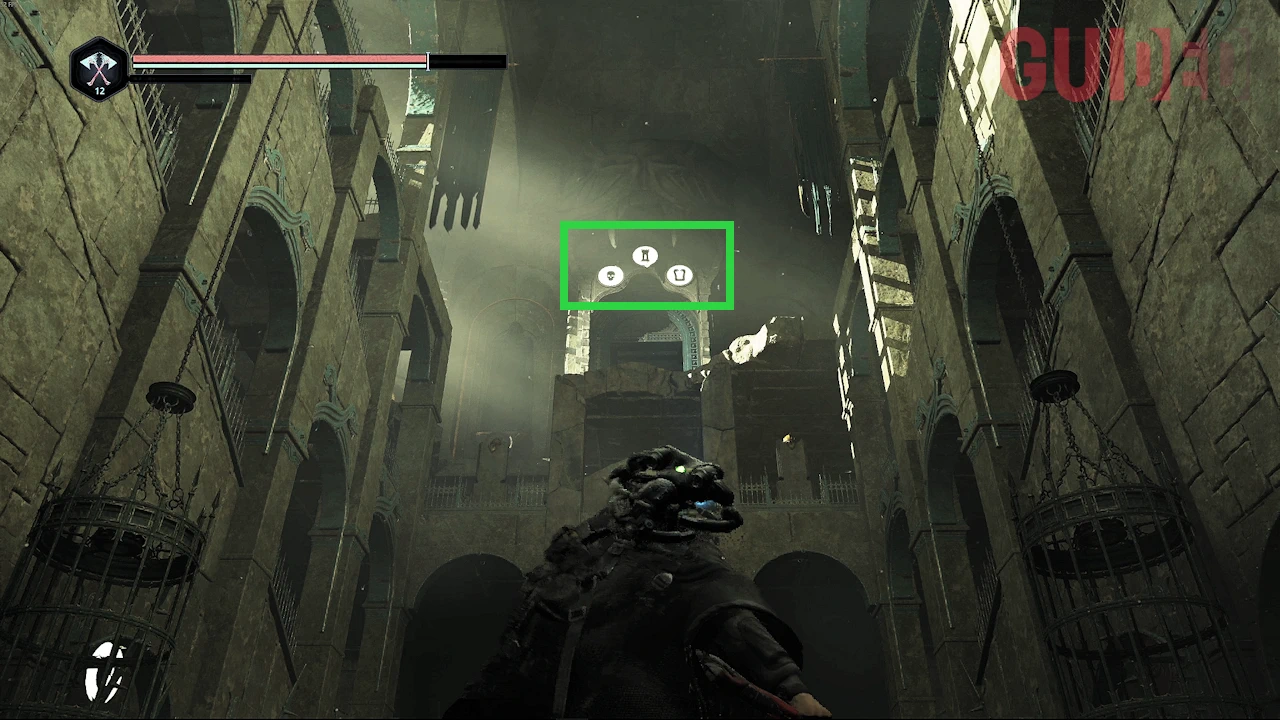
- Defeat all Timeloop Guardians and close the loop with a THETA Amine Prism.
- Tip: During the following larger fight, strike the highlighted pillars multiple times.
- You will then receive the “Keystone of Terror” and the Rusted Key.
- Use the key to open the door, take the elevator, and return to the APC.
- Speak with Tania to unlock Jeljin.
Jeljin
- Travel to Jeljin with the APC.
- Go to the church and climb the outside ladder. Drop down to access the crypt with the Dove symbol.
- Turn the statues: Right, Right, Left, Left.
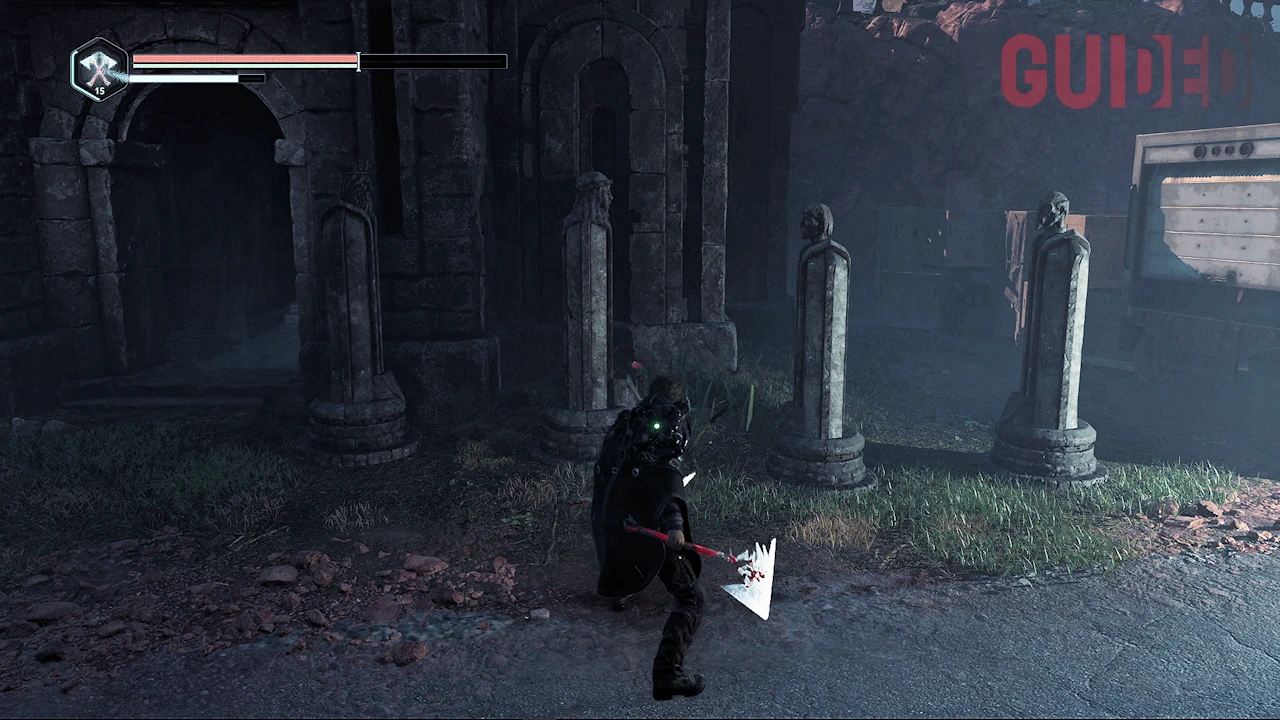
- Find the Crane Key outside the crypt.
- Go to the crypt with the Flower symbol and turn the statues so they all display the star.
- Open the Dagger Crypt and activate the crane switch.
- Proceed to the next crypt and turn all statues to the left.
- From the church entrance, go to the archaeology camp and through the mausoleum into the cave.
- Find the crypt with the Horse symbol.
- Turn the statues in the following order: Left, Right, Right.
- Return to the round pergola and solve the puzzle using the clues: Dove 30, Rose 24, Sword 33, Horse 90.
- The tomb will open. Enter the chamber and pull the lever.
- You will receive the “Iron Seal – Fading,” after which the Auriga Museum is unlocked.
Lethe – Ministry of Cultural Primacy
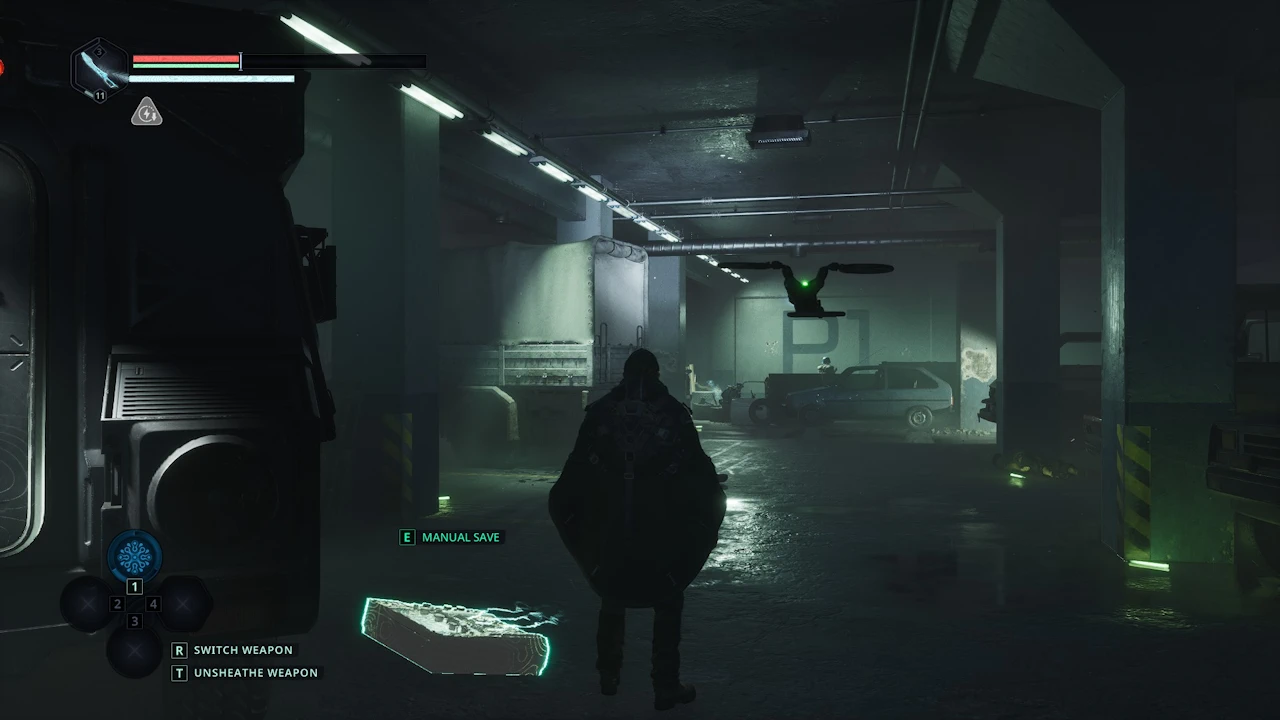
- Travel to Lethe and enter the Ministry of Cultural Primacy.
- Find Marton Ralst’s body.

- From Marton’s location, go left, then right to find Maeve Tristana. Talk to her.
- Go down one floor and find Marton’s wallet.
- After a battle, talk to Maeve again.
- Unlock the PC with the code 773.
- Switch the radio to AM and tune it to 60. Leave it there briefly to reveal the safe.
- Collect clues from the paintings to obtain a safe code: 203279.
- Open the safe and take the “Iron Seal – Rising.”
Auriga Museum
- Insert both Iron Seals to open the door.
- Rotate all four statues so they face the mural on the far wall, away from the entrance. The mural moves and reveals the passage.
- On floor B2, find the Maintenance Key, use it to open the room, and activate the yellow generator.
- Use the color grids to open each part of the route: Green and Red on B2, Purple for the B1 training room, and Blue on B3 to reach Dr. Marga Hamil.
- On floor B1, complete the training sequence.
- After the fight, you will receive Keycard Alpha from Seo Kagin.
- Activate the blue grid on floor B3 and talk to Marga Hamil.
- Open her lab with the code 230317. Inside, get the Drone Processor and trade it for Keycard Beta.
- Go to floor B4, use both keycards, and then talk to Dr. Mabden.
- Use code 7584, defeat all Timeloop Guardians, and obtain the “Keystone of Rage.”
Acasa Marshes
- Travel to the Acasa Marshes. Talk to Victor Gaz about Abbot Jaffer and the Pathem Abbey.
- Go to the Abbey, meet Abbot Jaffer, and ask him about the “Gospel of Teaar.” This unlocks the National Library of Lethe.
National Library of Lethe
- Go to Iblis in the staff room to get the Library Key.
- Then head to the Computer Room and collect books.
- Solve the puzzles using the clues on Locke’s body.
- Now head to the Restoration Rooms; use the code 537734 to open the door.
- Take the “Two-Headed Snake” and the “Gospel of Teaar.”
Vyssa Hills & the Mine
- Return to the APC and travel to Vyssa Hills.
- Once there, head to the mine entrance, climb the ladders, and open the chest with the Two-Headed Snake.
- Use the resulting Snake Token to open the snake door and find the Mine Key.
- Climb further up to collect the Moon Token and then the Palm Token.
- Use the Palm Token to open the next door and take the Land Deed. This unlocks the region “Plains of Mist.”
Plains of Mist – Final Trial
- Travel to the Plains of Mist.
- Open the temple gate with the Two-Headed Snake.
- For the first pressure-plate puzzle, stand on Star – Right, Moon – Left, and Tree – Left. Holding all three correct plates opens the door.
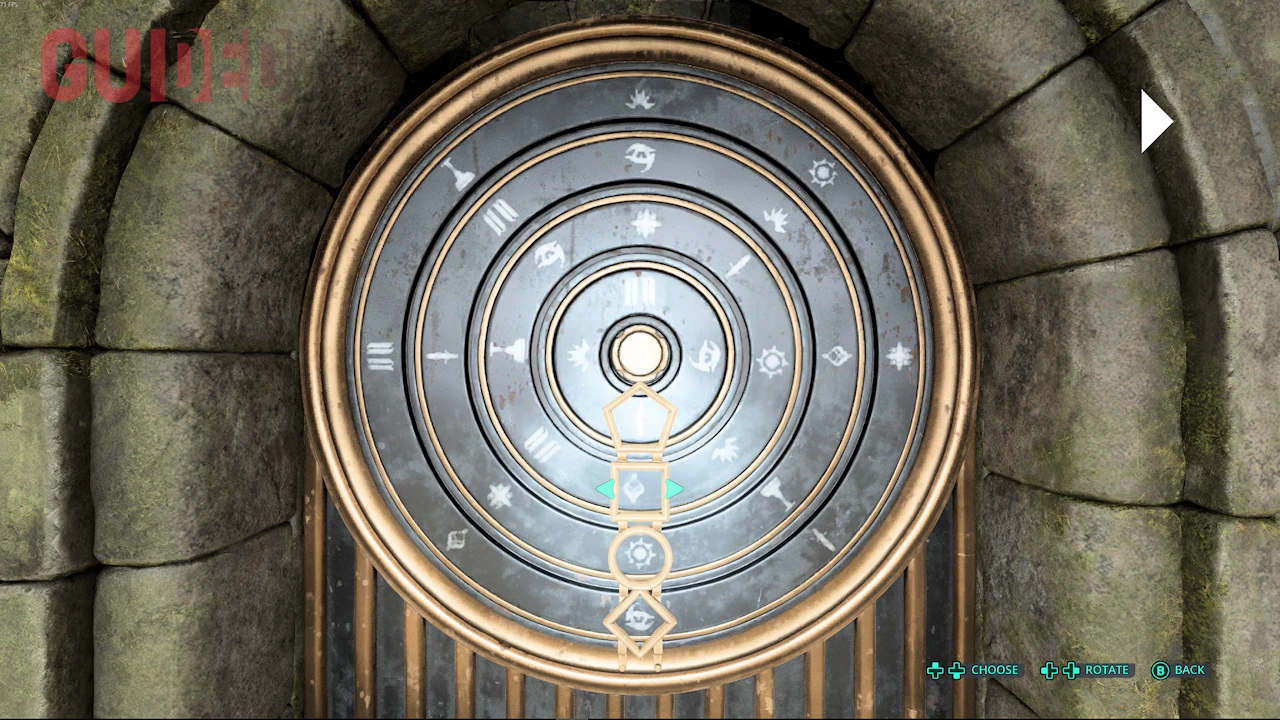
- Inside the temple, collect clues from the monoliths and solve the second pressure plate puzzle. Order: 1st Mating Season, 2nd Dagger Eye, 3rd Ambush, 4th Two-Headed Snake.
- Defeat the enemy hordes to obtain the “Keystone of Ecstasy.”
- Return to the APC and bring the stones to the Lymbic Forge. That’s it – you’ve successfully completed Act 2!
Act 3 – The End
- Return to Lake Cynon with all four Keystones and descend to the Lymbic Forge. Place the three remaining Keystones on their matching altars; the Keystone of Grief is already in place. Once all four are inserted, the massive sealed gate opens.
- Step through the gate and prepare for a large-scale battle against enemy waves.
- Afterwards, pull the lever to open the next gate and begin the descent through the tunnel leading toward Mount Obek.
- Continue along the corridor until you reach five glowing pickups: the Crimson, Cobalt, Gold, and Emerald Orbs, plus an Amine Prism – Rho and the Failsafe Scroll.
- Proceed through the next door into the Eye of God arena and defeat the four Guardians while exploring the area.
- Place the Crimson Orb at the second statue from the left on the northern wall and the Cobalt Orb at the third. On the southern wall, place the Gold Orb at the first statue and the Emerald Orb at the third.
- Once the Guardians are defeated and all four Orbs are in place, close the Timeloop with the Amine Prism – Rho.
- Finally, place the Heirloom Necklace into the last device. This triggers the final cutscene and concludes your journey.
Useful Tips & Tricks for Hell is Us
- Upgrade your defense as early as possible to increase stamina and damage reduction. This keeps you safe from nasty surprises such as very large enemy groups.
- Read every clue carefully, and mark the most important ones as favorites. Some NPC information may initially seem irrelevant, but it rarely is. For optional puzzles, our guide to all Mysteries lists their requirements and solutions.
- Complete as many Good Deeds as possible and close the world’s Time Loops. Some Good Deeds can fail if you advance the story too far. Also collect research objects such as books or substances to obtain relics, weapons, equipment, and Lymbic abilities.

- Use drone abilities and Lymbic powers regularly, especially from midgame onwards. Mastery of the Healing Pulse ability is particularly important, since healing items are limited.
- If a group of enemies sneaks up on you, escape the situation quickly. Once they’ve encircled you, your journey may end abruptly.
- You don’t have to kill every enemy! Use the sprint ability to move faster; enemies won’t chase you for long.
- Whenever possible, focus on one or two weapons to maximize damage through weapon leveling.
- Visit blacksmith Victor Gaz often to upgrade your weapons. Just before starting a new main quest, this visit should be mandatory.
For additional support with the game, you can also join our community on Discord!

0 comments
No comments yet. Start the discussion.
Create an account to comment
Sign in or create a free Guided account to join the discussion.